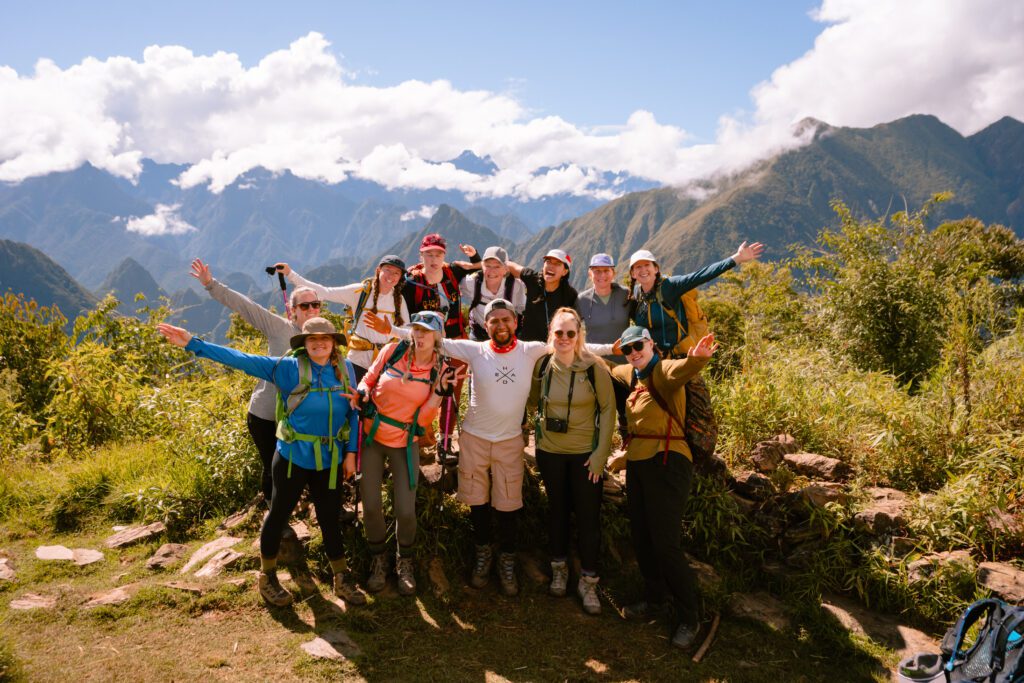
I wrapped up my latest group hiking trip this past May with 15 women from around the country (and Canada). We hiked the 5-day hut to hut Salkantay Trek in Peru.
To say it was epic would be an understatement.
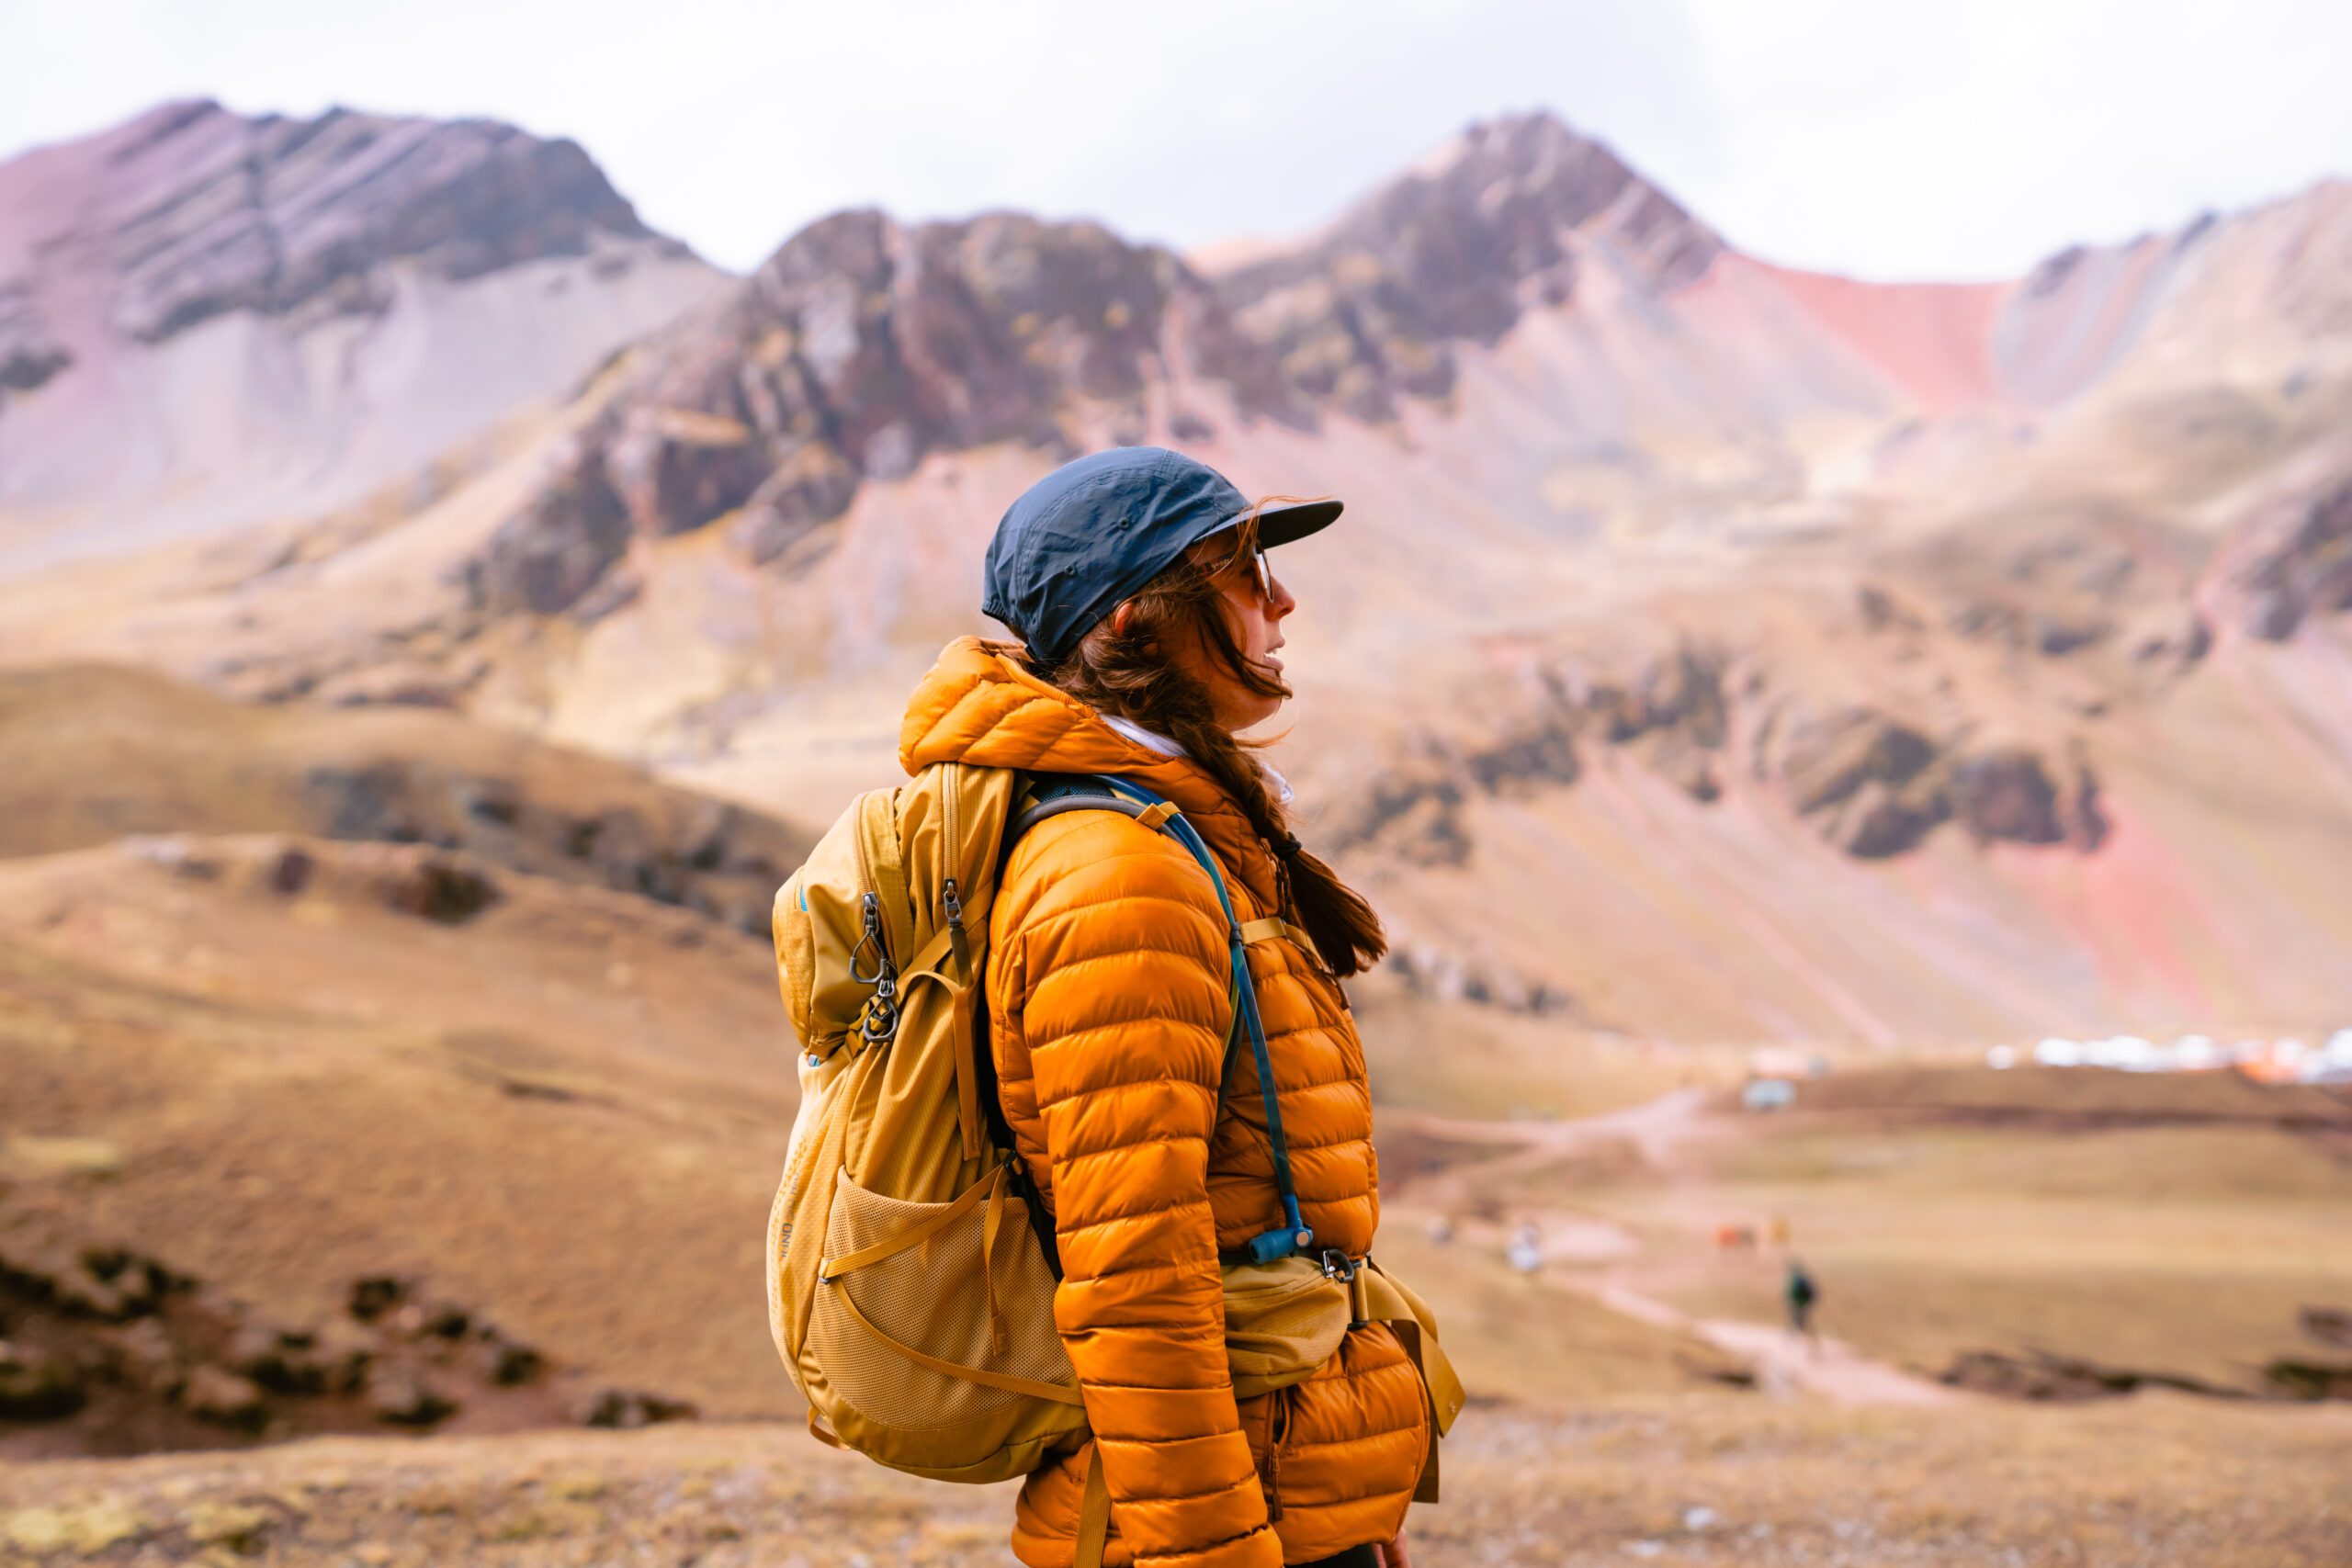
The Peruvian Andes are massive, rugged, breathtaking mountains.
It was challenging and rewarding.
The people are kind, and the culture is beautiful.
If this hike is on your bucket list, I highly recommend it.
My hope is this guide will give you some insight on what to expect and how to navigate planning a Salkantay Trek of your own!
(Read this blog post – Packing List: 5-Day Hut to Hut Salkantay Trek in Peru).
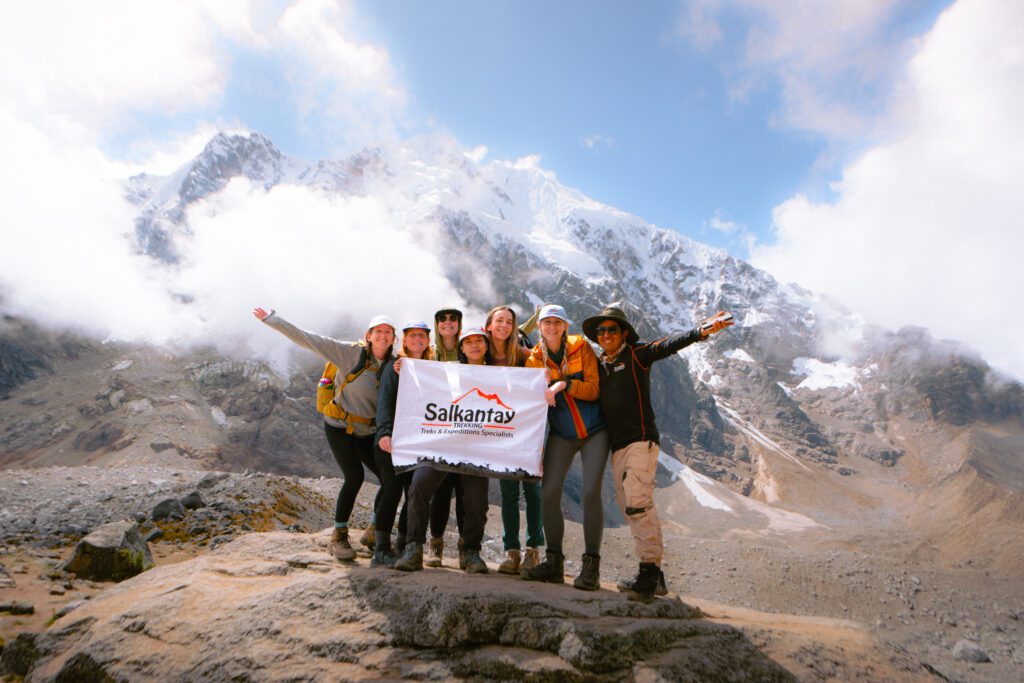
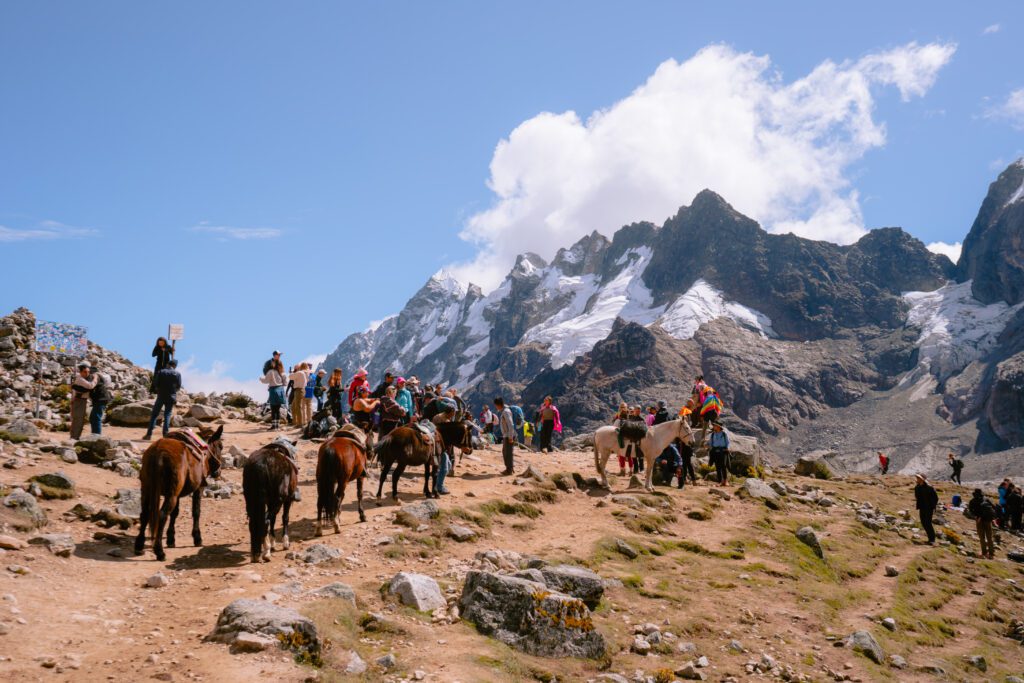
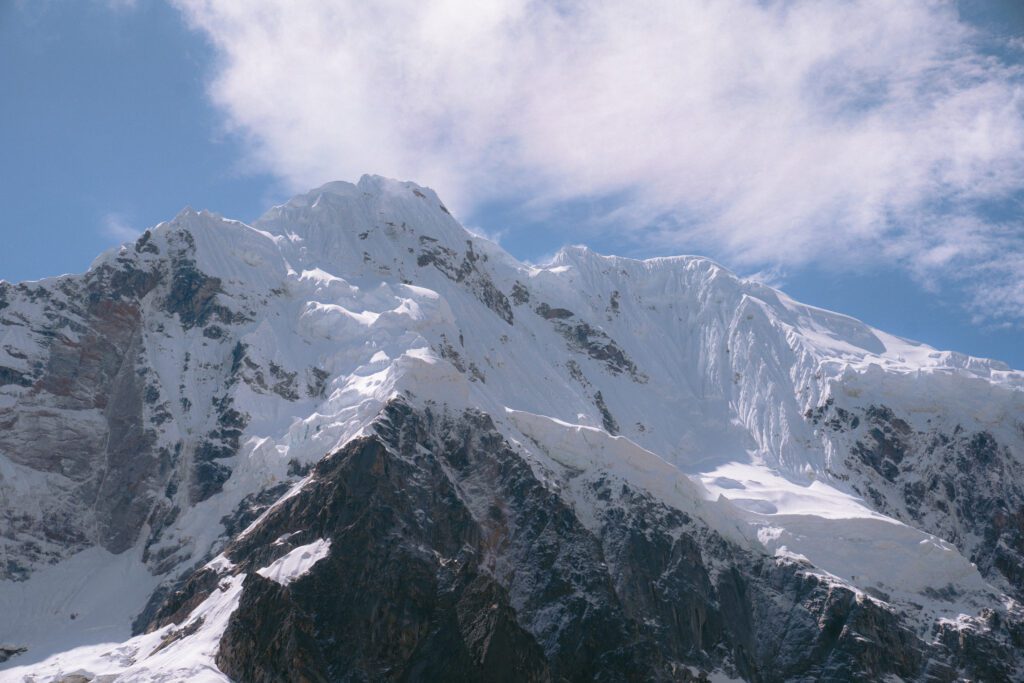
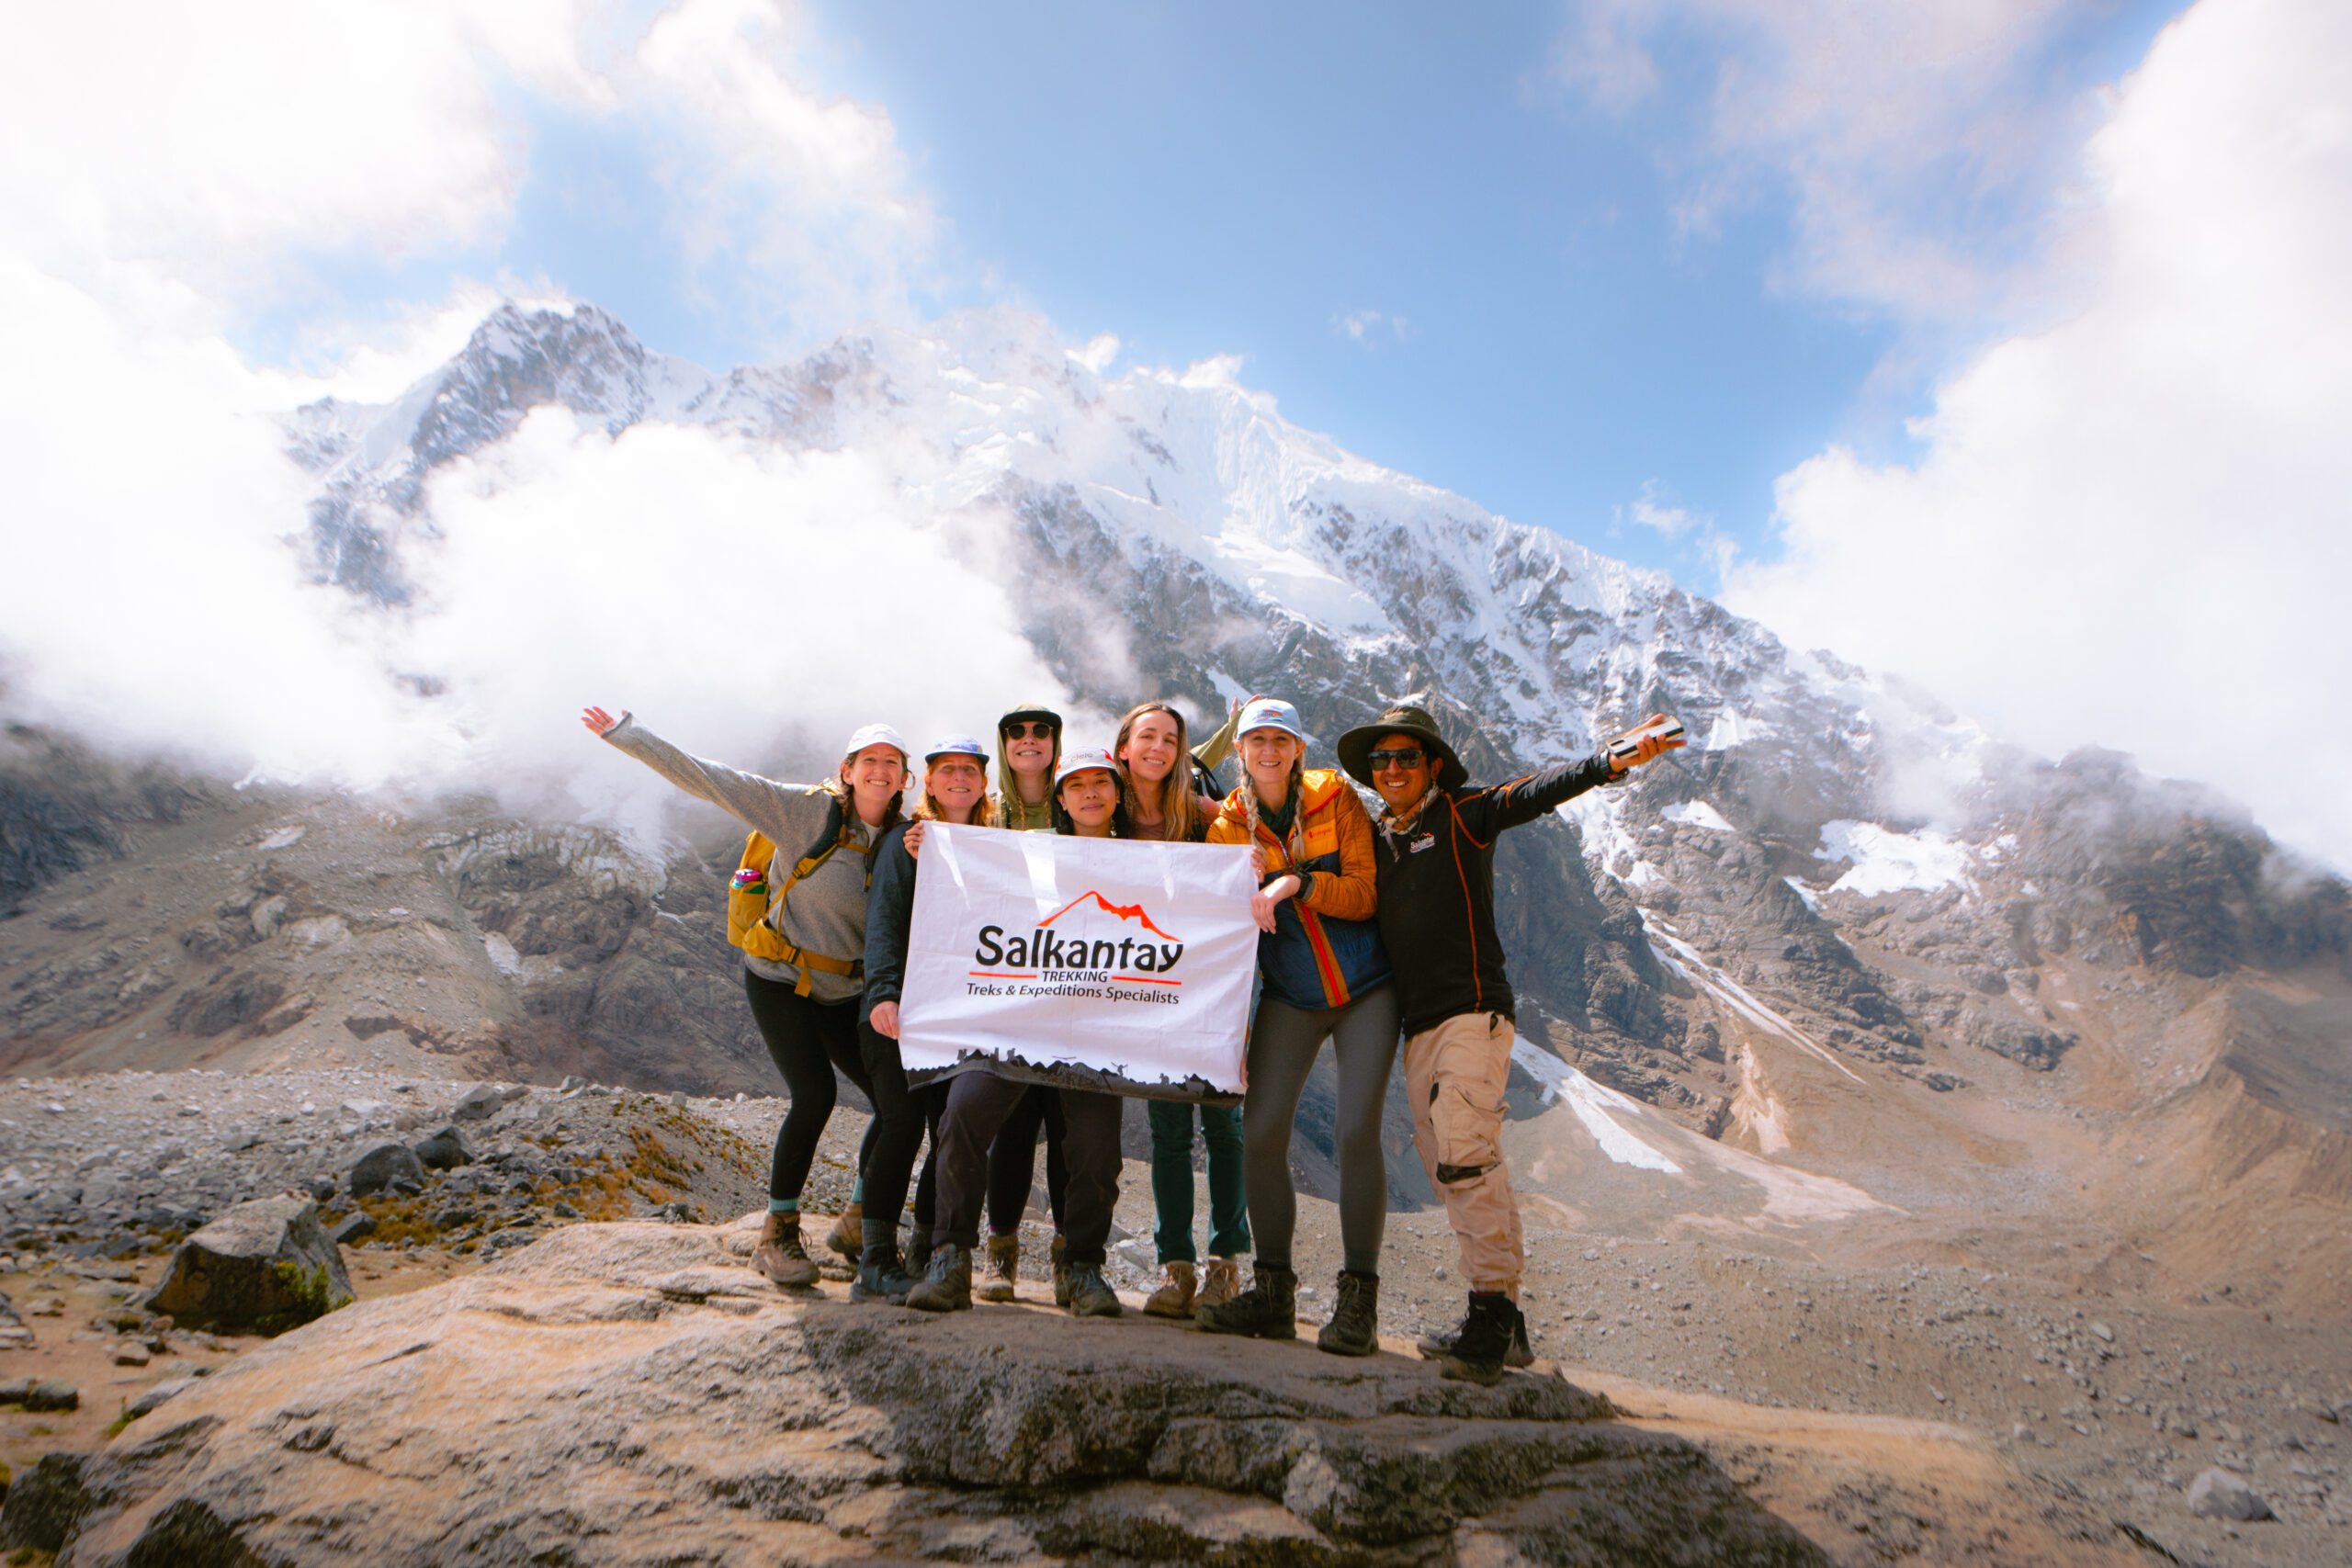
(Photo: Salkantay Pass at 15,190 feet, the highest point on the Salkantay Trek)
What is the Salkantay Trek?
The Salkantay Trek is a challenging 46 mile hike through the high altitude Peruvian Andes that ends at Machu Picchu.
(Well, it ends in Aguas Calientes aka “Machu Picchu Town” where most people finish their hike and take a short 20min bus ride the next morning to the gates of Machu Picchu).
It’s longer in mileage, higher in altitude, less busy, and arguably better than the popular Inca Trail.
You’ll experience about 7,000 feet elevation gain and about 12,000 feet elevation loss over those 5 days (almost entirely in the first 4 days actually).
The highest altitude you’ll experience is 15,190 feet as you hike over the Salkantay Pass on Day 2, while the lowest altitude you’ll experience on this trek is 7,972 feet at Machu Picchu on Day 5.
Read my honest and humbling experience with the altitude here.
Unless you add-on an additional hiking permit while at Machu Picchu there really isn’t any “hiking” that day other than touring around the grounds for a few hours (more on that below).
The best season to do the Salkantay Trek is the “dry season” from May to September.
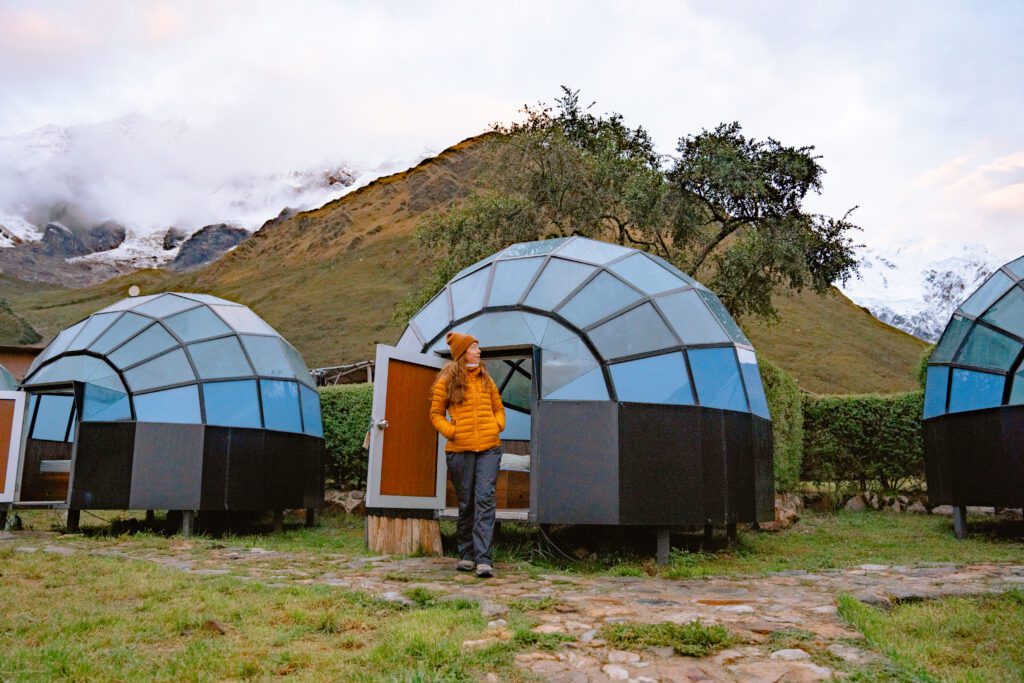
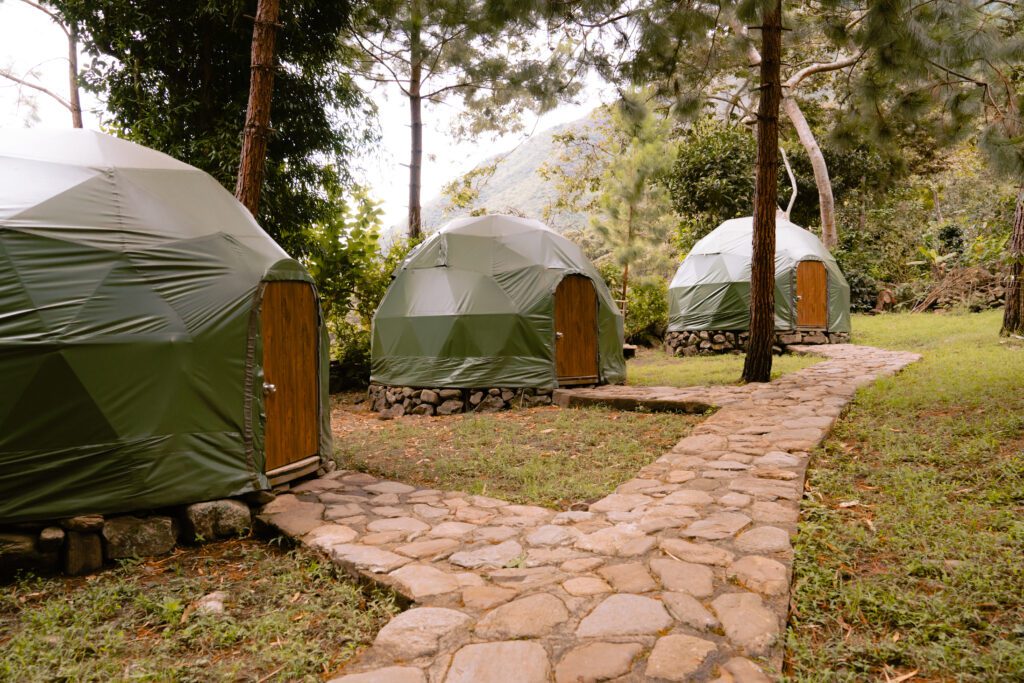
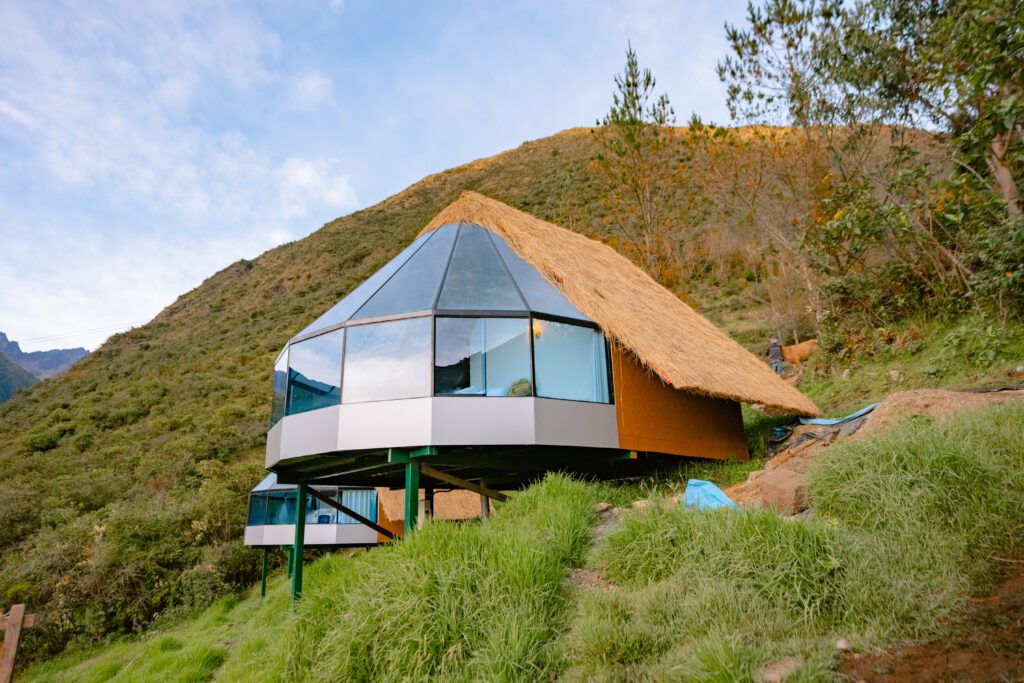
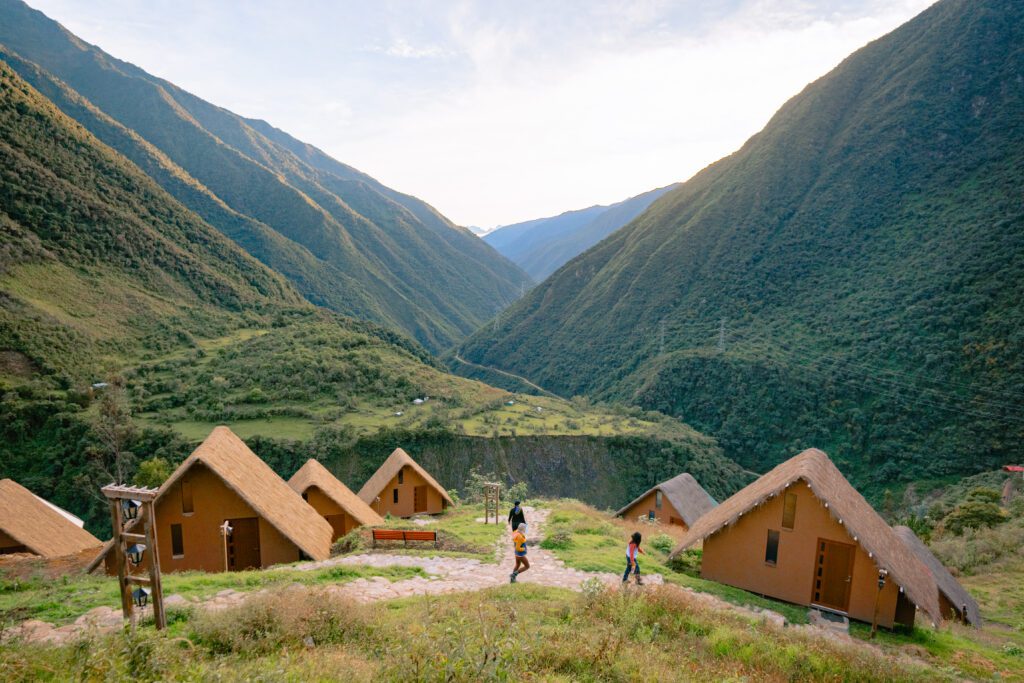
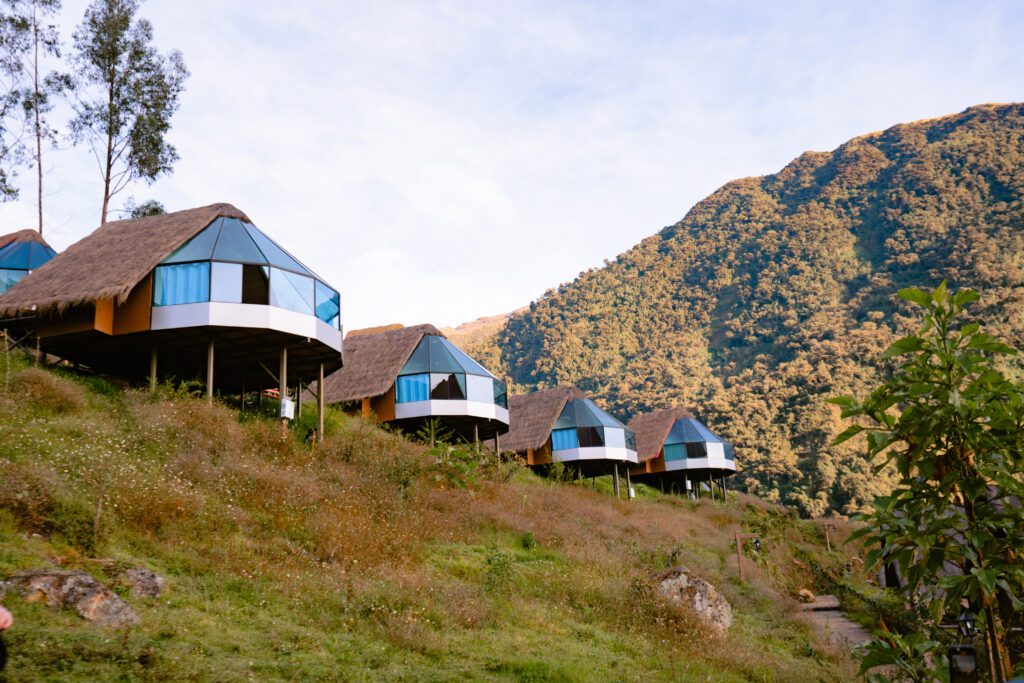
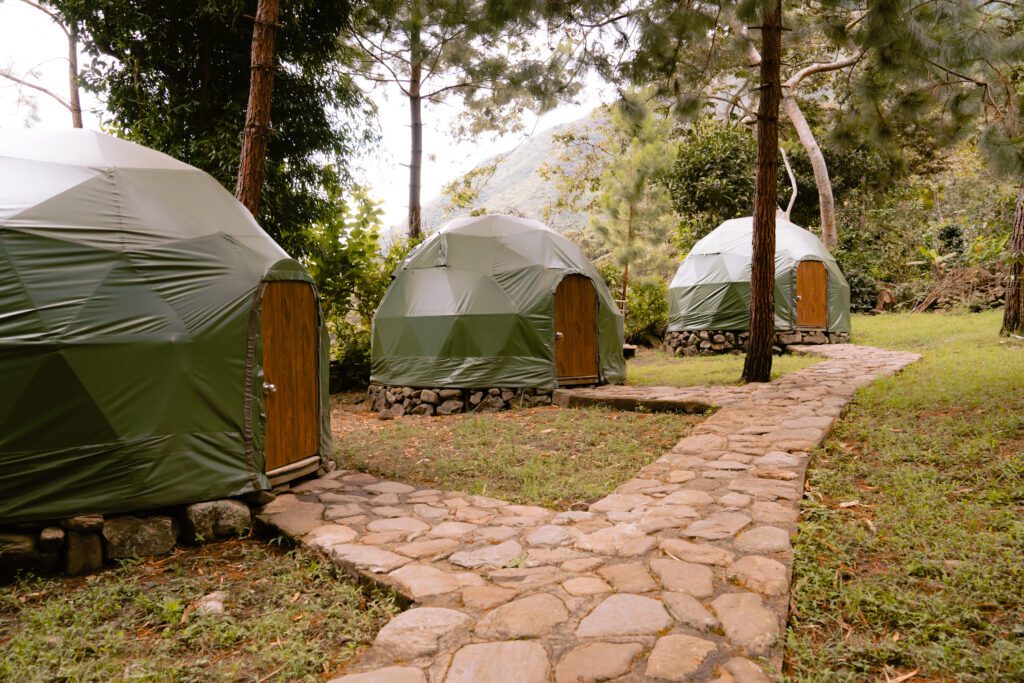
(Photo top left: Sky Camp, bottom left: Jungle Domes, bottom right: Sky Mountain View Camp)
What is Hut to Hut Hiking?
Hut to hut hiking is where your hiking route connects you with a “hut” each night of your trek.
This allows you to stay “off the grid” longer, similar to backpacking, but more immersed in nature than just doing day hikes from a hotel or modern accommodation.
Hut to hut hiking gives you the luxury of a roof over your head at night – and occasionally chefs to prepare your food and porters to haul your extra gear.
In general, backcountry “huts” can range from a rustic structure that is truly off-grid with shared bunk rooms, to a comfortable single room hut with its own electricity and WIFI.
(The huts on our Salkantay Trek in Peru were closer to the latter).
The level of comfort really depends on what you’re looking to experience and what is available for the trek you’re planning to do.
There are basically 3 ways to hut to hut hike:
- Supported by a guide company (who often come with chefs and porters, this is what we did for our Salkantay Trek)
- Self-supported (carrying and preparing all of your own food, and carrying everything you might need on your back the whole trek)
- Something in between
I love hut to hut hiking because you get the best of both worlds: deeply immersing in nature while still indulging in some level of comfort and protection from the elements.
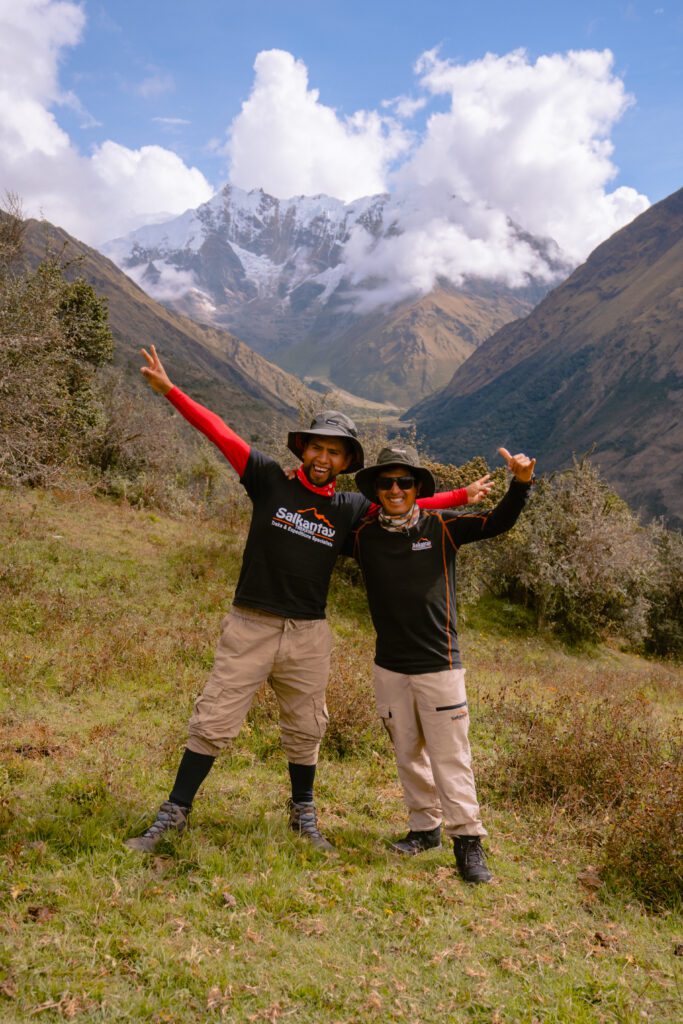
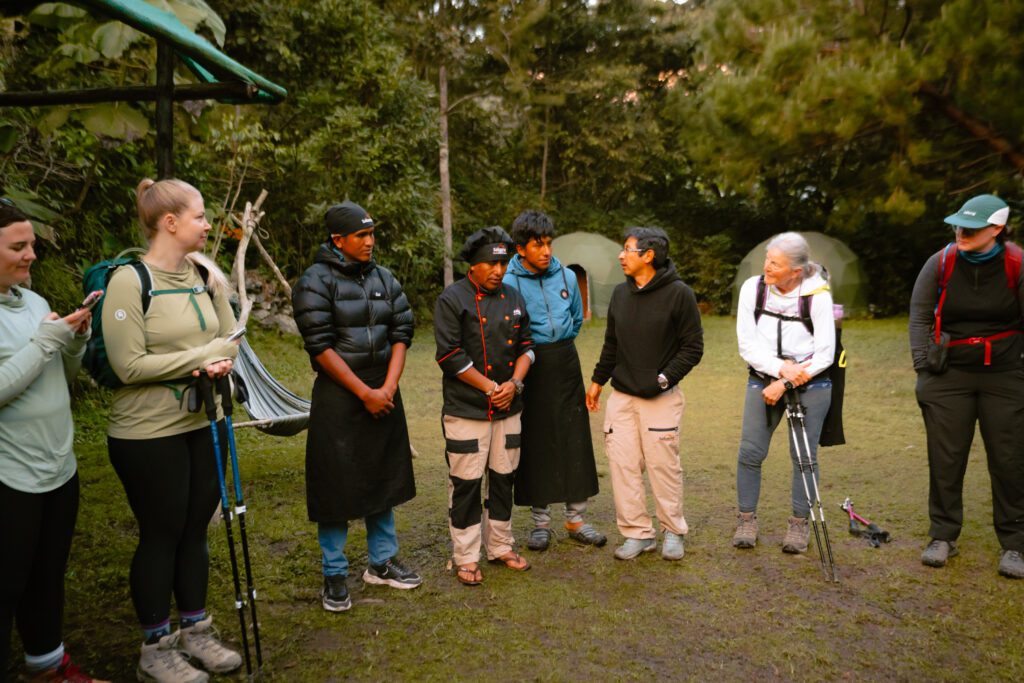
(Photo: Our guides from Salkantay Trekking, Manuel on the left and Kenneth on the right!)
Working with a guide company (I recommend Salkantay Trekking!)
For this group hiking trip, I worked with a travel company called Legit Trips to take care of the overall logistics, communication, and planning of the trip beginning to end.
But on the ground in Peru, specifically for our Salkantay Trek portion of this trip, we worked with the hiking guide company, Salkantay Trekking.
Once on the trail, it was clear that Salkantay Trekking was the premier guide company on the mountain.
We had plenty of support in the form of porters for our extra gear (although limited to a provided 40L duffle), amazing off-grid accommodations, highly experienced guides (Shout out to Kenneth/Kenny and Manuel/Manny!), and incredible food.
If for no other reason, I’d recommend hiring a guide as a way to learn more about the local culture, flora, and fauna.
Some of my favorite moments on trail were when we’d stop and learn about something we would have otherwise completely passed by and overlooked.
For me, being able to connect with locals and support their economy in this way is an important element of mindful and sustainable travel.
Salkantay Trekking offers their own private and group tours, and I would absolutely recommend them.
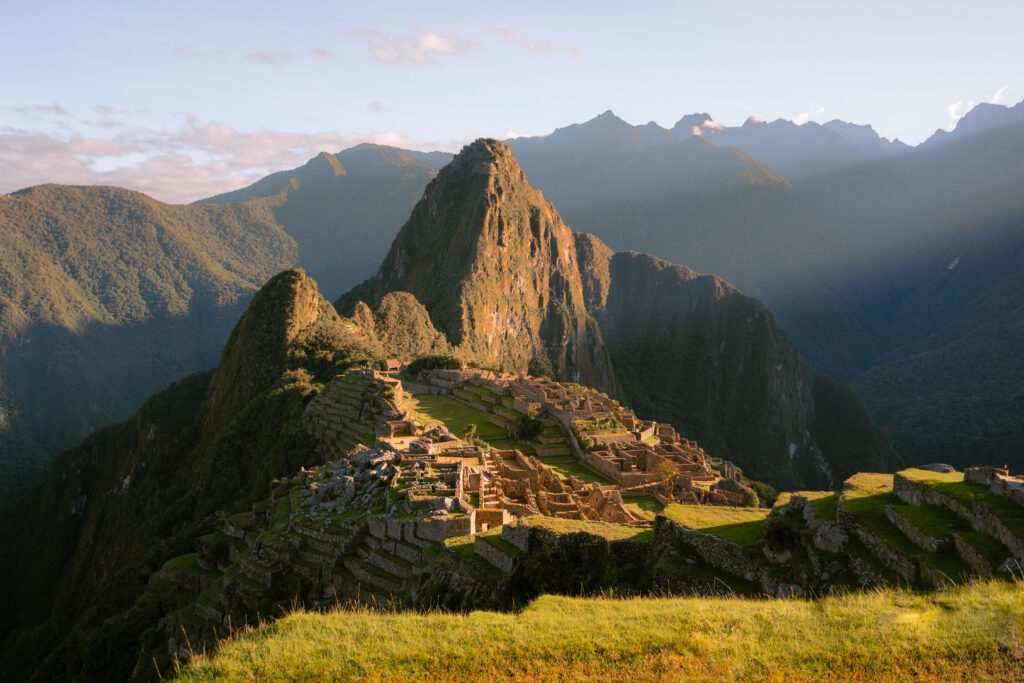
Tips for visiting Machu Picchu
Machu Picchu is a 15th-century Inca citadel located in the Sacred Valley of Peru.
It’s now a UNESCO World Heritage Site and is recognized as one of the Seven Wonders of the World.
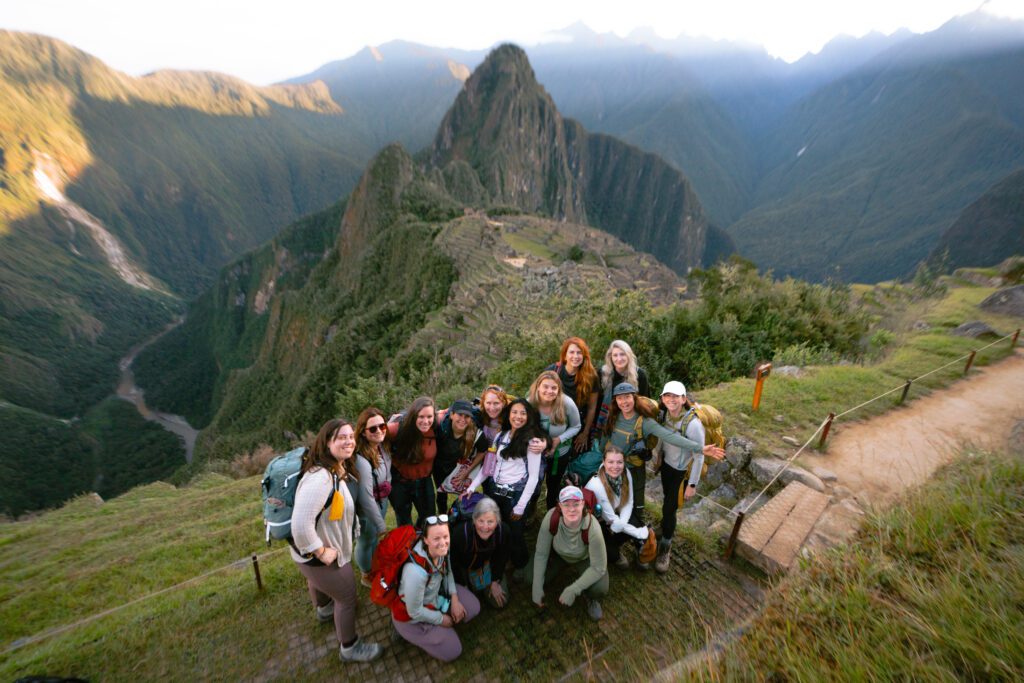
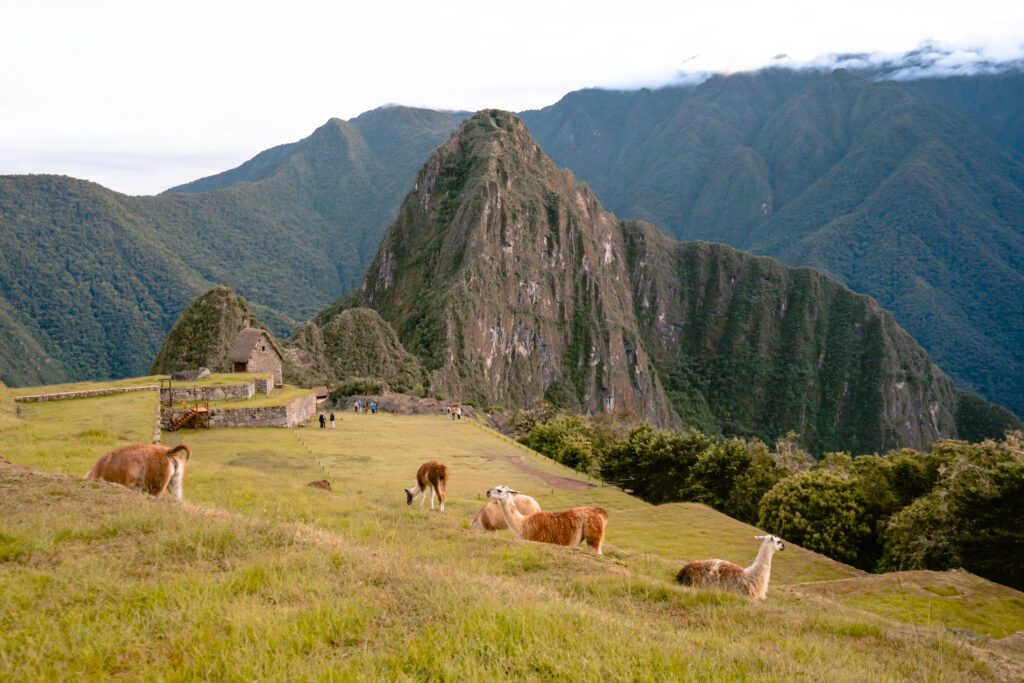
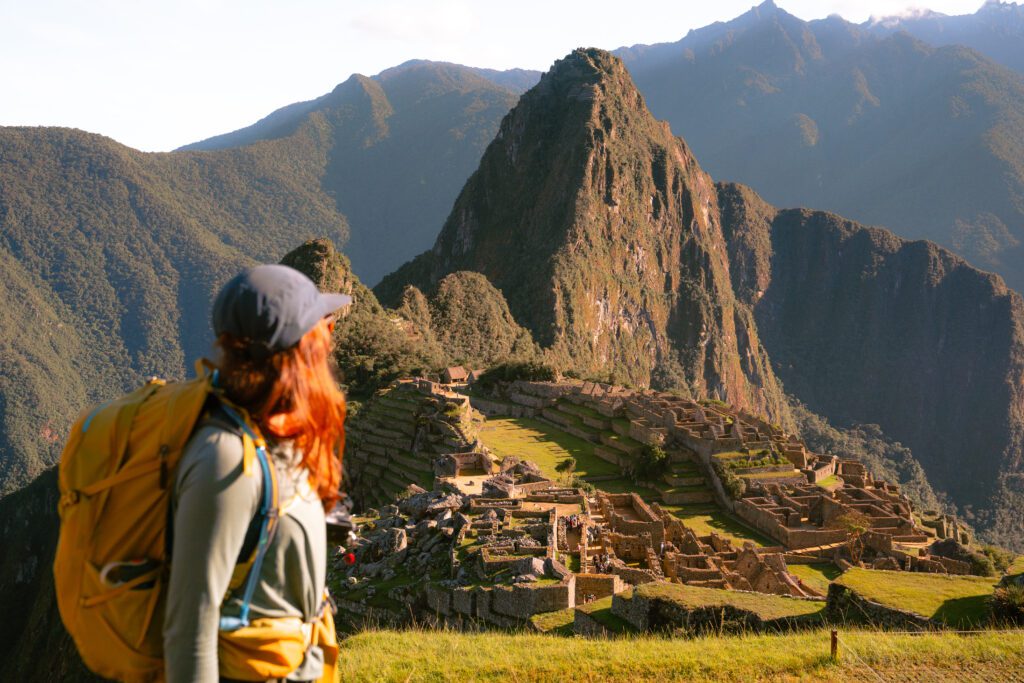
It looks in person exactly like you see in photos – lush, green, and expansive with Llamas roaming the property.
It’s unbelievable how well-preserved it is, having been built so many years ago.
My biggest tip for visiting Machu Picchu: Reserve the earliest permit time slot of the day.
This is what we did and being one of the first groups in meant we were able to get undisturbed photos of the citadel before the crowds flooded the grounds.
It was only about 30min after walking in that every nook and cranny of the property was filled with people. So, take your photos as soon as you get in!
Things to know about visiting Machu Picchu:
- You must have a tour guide
- Daily permits are limited, and entry is timed
- There are no restrooms on the grounds — only before you enter or after you exit for, cost is 2 Soles
- Backpack sizes are limited to 25L — there’s a storage area if needed for 3 Soles
- Altitude is 7,972 feet, significantly lower than the 11,151 feet of Cusco
- Best time to visit is “dry season” from May to September
Optional hikes at Machu Picchu:
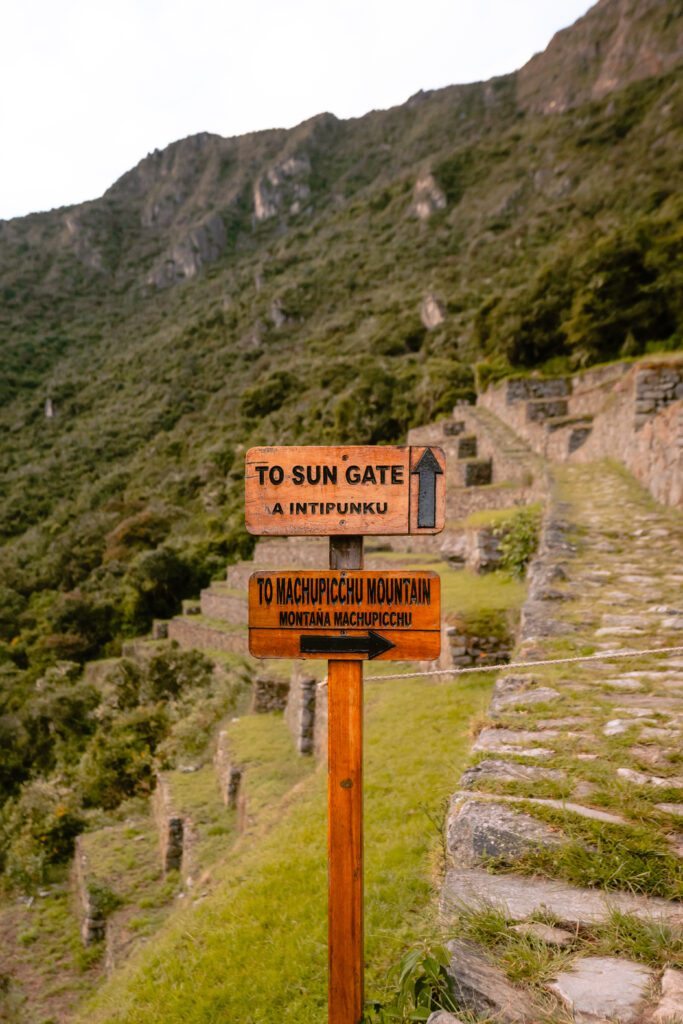
- Huchuy Picchu Mountain (easiest, 1hr – we did this one!)
- Machu Picchu Mountain (moderate, 2hr)
- Huayna Picchu Mountain (challenging, 2hr)
I believe you can only get a permit for one additional mountain hike per entry.
How to prepare for the Salkantay Trek
Altitude
If you’re like me and coming from sea level, the altitude may be a tough adjustment (get my full experience with the altitude on this blog post).
You’ll fly into Cusco, which is already at 11,000 feet, so it’s recommended to acclimate there for a at least 2 days before starting your trek, which is what we did.
In hindsight, I might have come another day or so earlier. Or made a stop for a couple days in a city like Denver that’s just over 5,000 feet to acclimate a bit slower and longer.
(It’s best to adjust to altitude slowly and in increments if you can.)
That being said, some of the women on this group trip coming from sea level had almost no issue, especially those who took the prescription altitude medicine, Diamox.
Also in hindsight, I might have taken that as well.
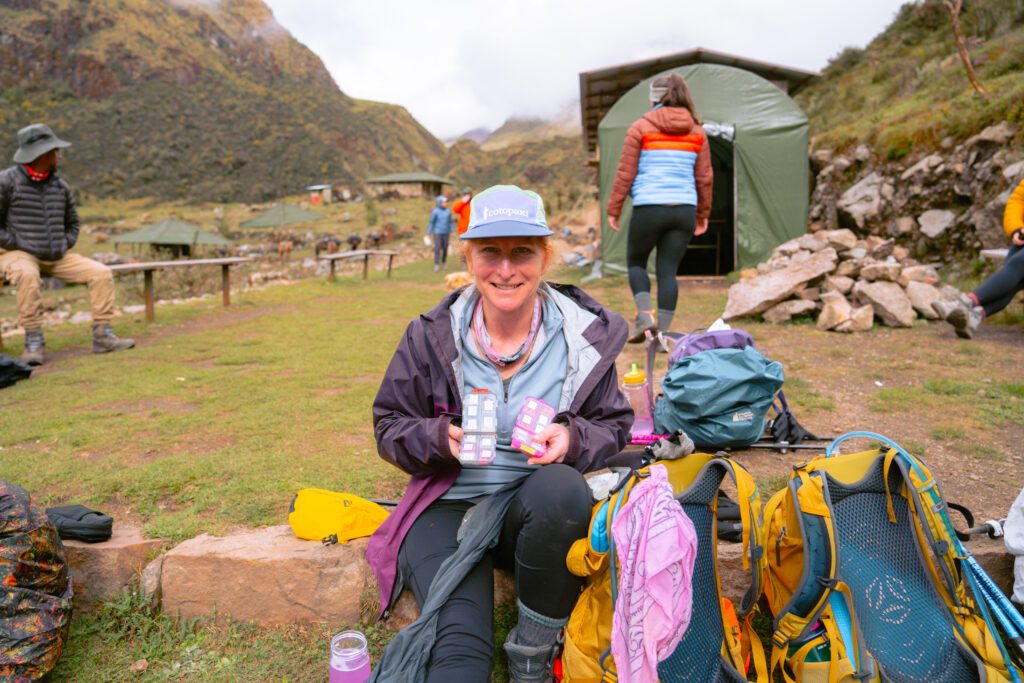
I think the jury is still out on their effectiveness, but you can purchase single shot Oxygen canisters called OxyShot for just a few dollars over the counter in any Cusco convenience store.
They’re about the size of a water bottle, weigh almost nothing, and give you lots of single shots you can take as needed on the trail.
Someone in my group gave me some shots from hers while at Sky Camp and the Salkantay Pass, and honestly, I really do think it helped.
Another natural remedy you will see a lot of (and your guides will push on you often in a loving way!) is to drink the hot Coca Tea anytime it’s offered to you as the caffeine is supposed to assist in acclimating as well.
Fitness
This is a hard hike for most, but it’s the altitude that really makes it challenging.
Making it even more important to be an active, healthy person before this trek.
If you don’t have access to train on mountain, I’d absolutely recommend regularly training on a Stairmaster at your local gym (this is what I do with a $10/month Planet Fitness membership) in the months leading up to your trip to get your legs ready.
Whether you have access to elevation or not, I’d also recommend getting used to being on your feet for 10+ miles, even if the trail or path is flat.
I absolutely recommend wearing the actual hiking boots you plan to wear on the trek while training. That way you can be sure they work well for you, and to figure out any blister issues well before the trip starts.
I also like to wear a daypack with a full hydration bladder, and slowly adding more weight to it when ramping up training.
I think most people would agree that Day 4, especially the last flat stretch of 7 mile road walking into Agua Calientes, was especially hard on the bottoms of their feet just from the number of hours (about a 12 hour hiking day) we were hiking and walking.
I’d also recommend regularly mixing in:
- Strength sessions with exercises like weighted squats, step ups, lunges, and calf raise
- Core work
- Ankle, foot, and hip mobility
- Dynamic stretching
Also, heart rate-specific training like sprints (I did mine on the Stairmaster) are another way you can help your body adjust better to lower levels of available oxygen at altitude.
There are altitude and trekking specific trainers you can work with like Kate Sielmann who has 1:1 and self-guided programs.
I did one of her self-guided programs before the Salkantay Trek and it was especially helpful for me to understand the importance of training cadence and HR zones.
Packing
There were a few things I did NOT pack, that I wish I had. Don’t make the same mistake I did!
Get my full packing list (with links) on my blog post here: Packing List: 5-Day Hut-to-Hut Salkantay Trek in Peru.
My general travel rule of thumb is to always carry-on whenever possible. Having your bags lost or late just doesn’t work when you’ll be heading into the mountains.
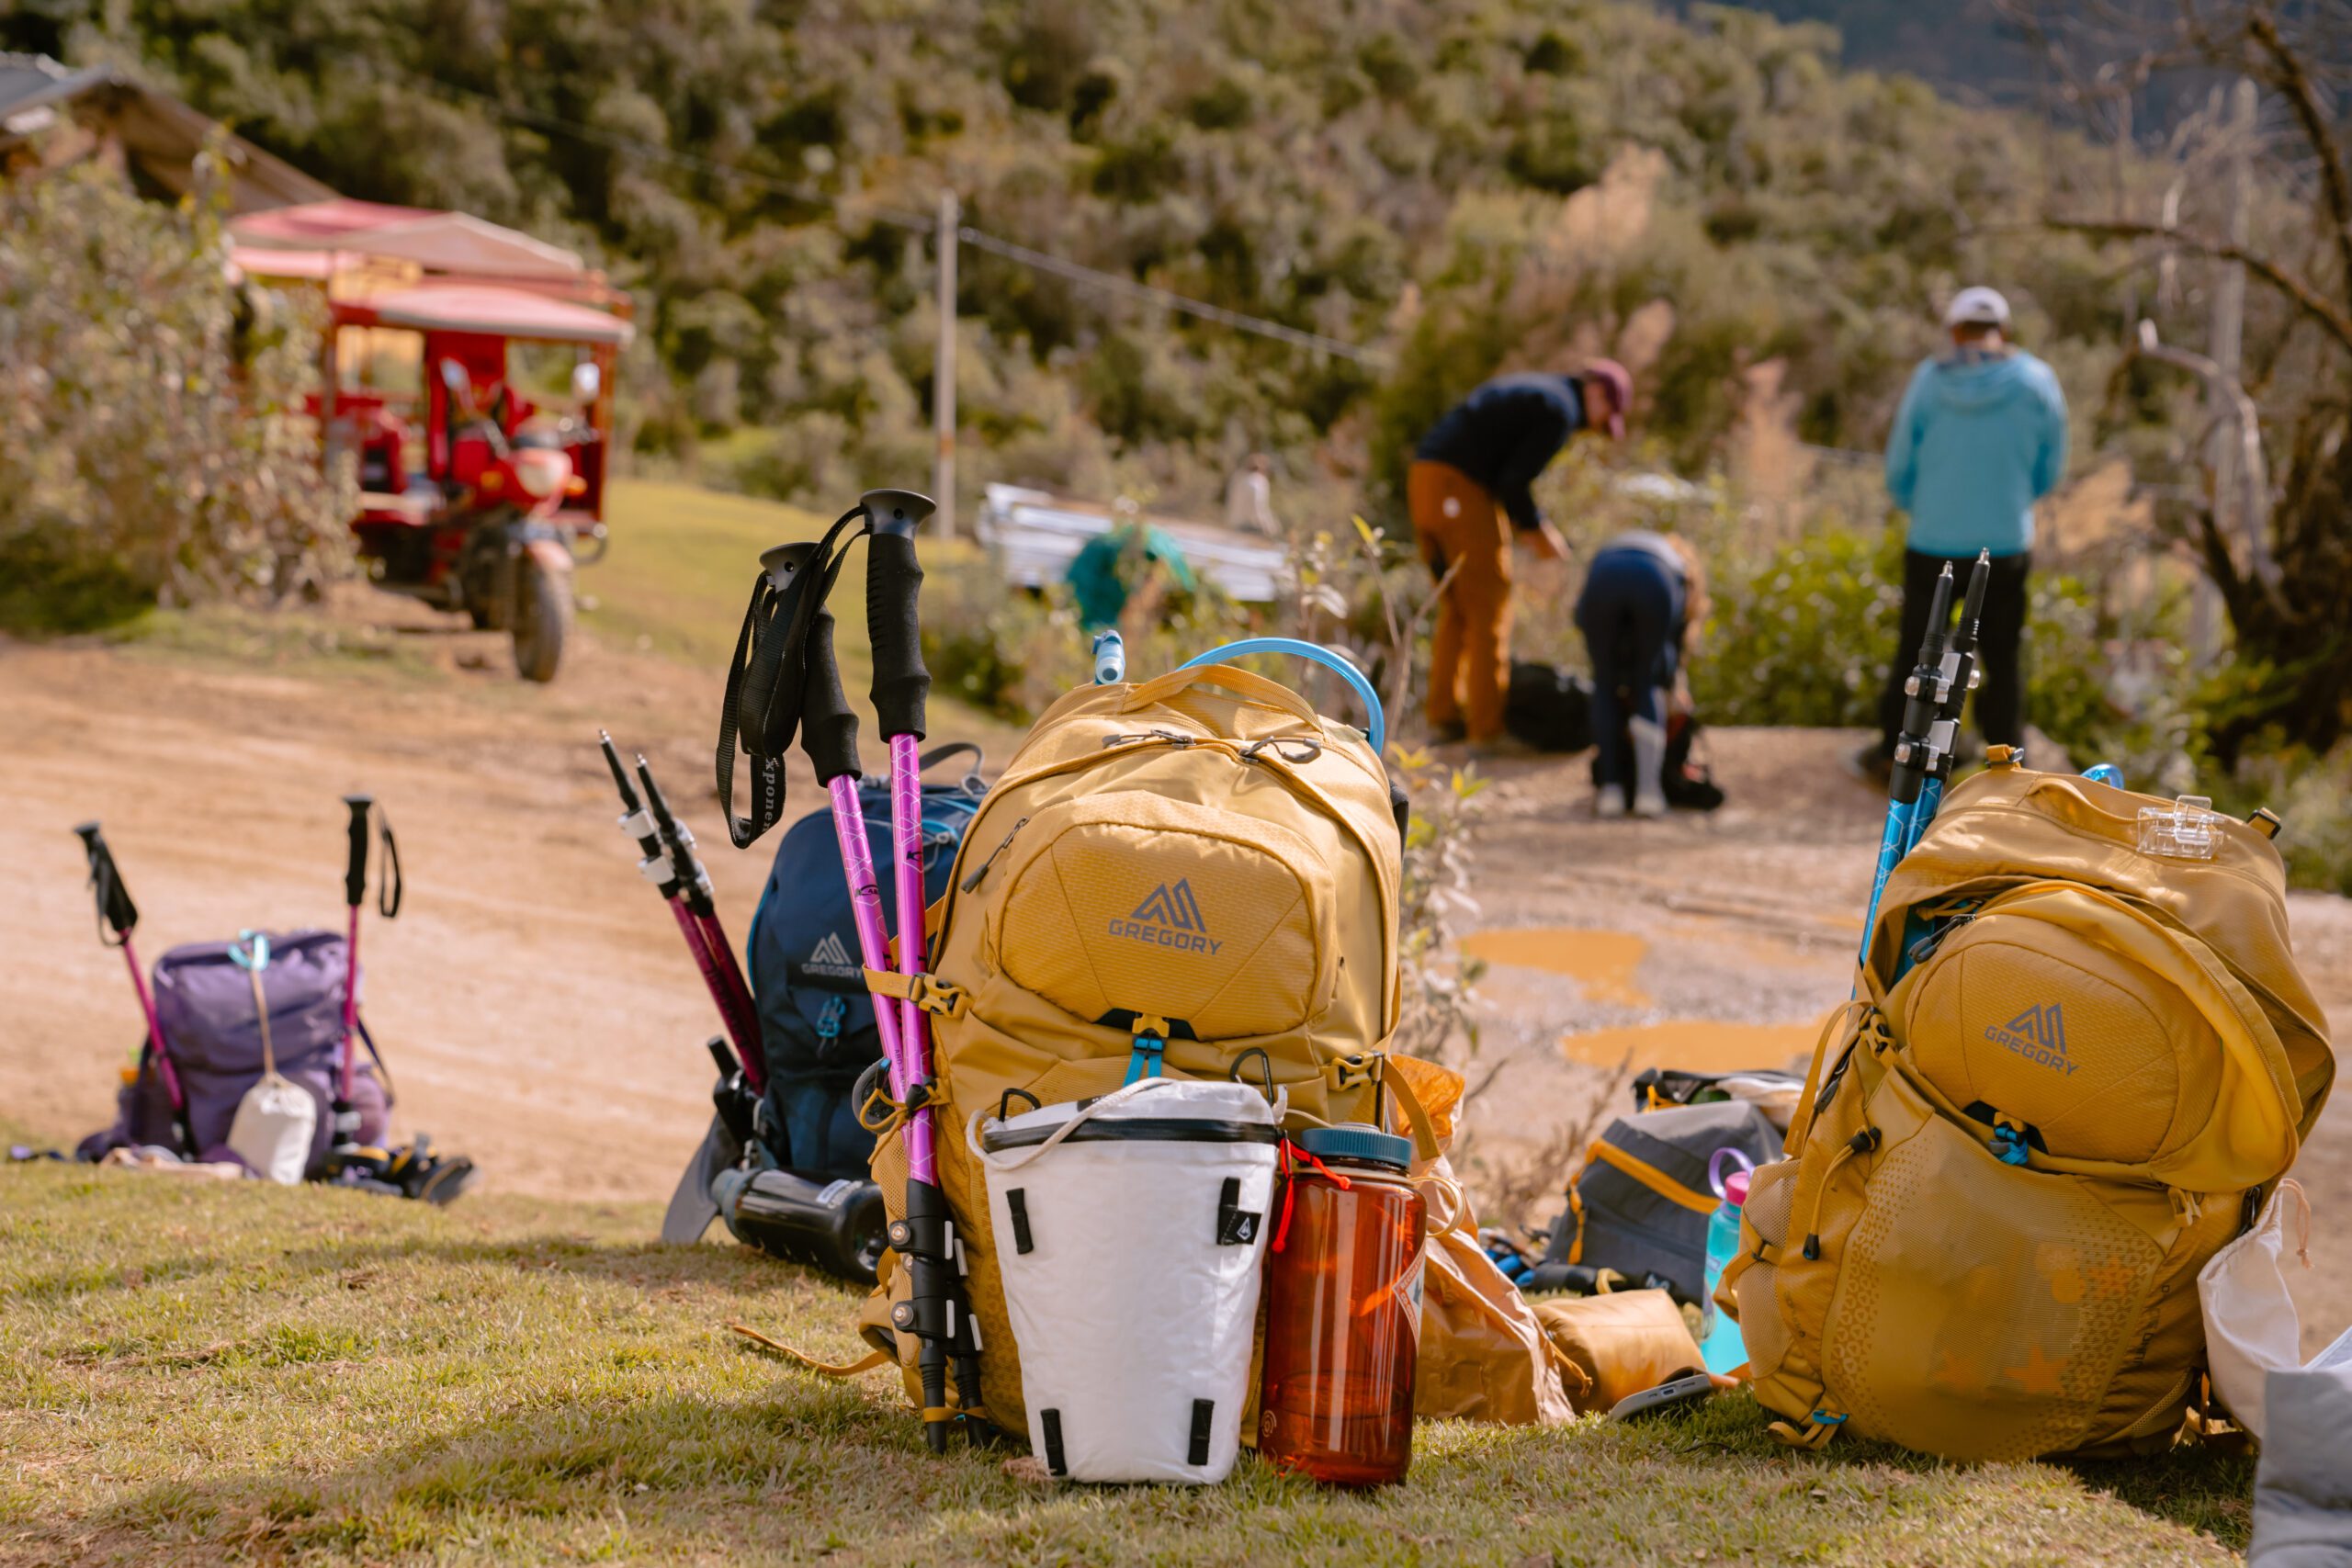
Salkantay Trekking offers the option to rent trekking poles and sleeping bags for $25 each.
At minimum, I would rent trekking poles as you cannot carry them on in your luggage.
And while I did pack my own sleeping bag, if you’re running out of room in your bag, you might want to rent one instead and just bring a sleeping bag liner.
The rented sleeping bags were all high quality, warm, and very clean.
The night before your trek begins, you’ll have a briefing with your guides. This is where they will distribute trekking poles, sleeping bags, and your designated 40L duffle bag.
You’ll need to fit everything for the trek in this 40L duffle (aside from what you plan to carry in your day pack on your back).
So, keep in mind, you will need to pack fairly light while on the trek. I personally had no issue fitting everything I needed, but if you’re an over packer, consider narrowing things down ahead of time!
Your hotel in Cusco will be able to safely hold the rest of your luggage until you get back.
FYI, these duffels are NOT waterproof, and they will be portered by horses from hut to hut where they can get wet, muddy, and dirty.
So, here’s a tip: I’d recommend bringing a large garbage bag to line the inside of your duffle and consider using dry bags to keep your stuff organized and dry.
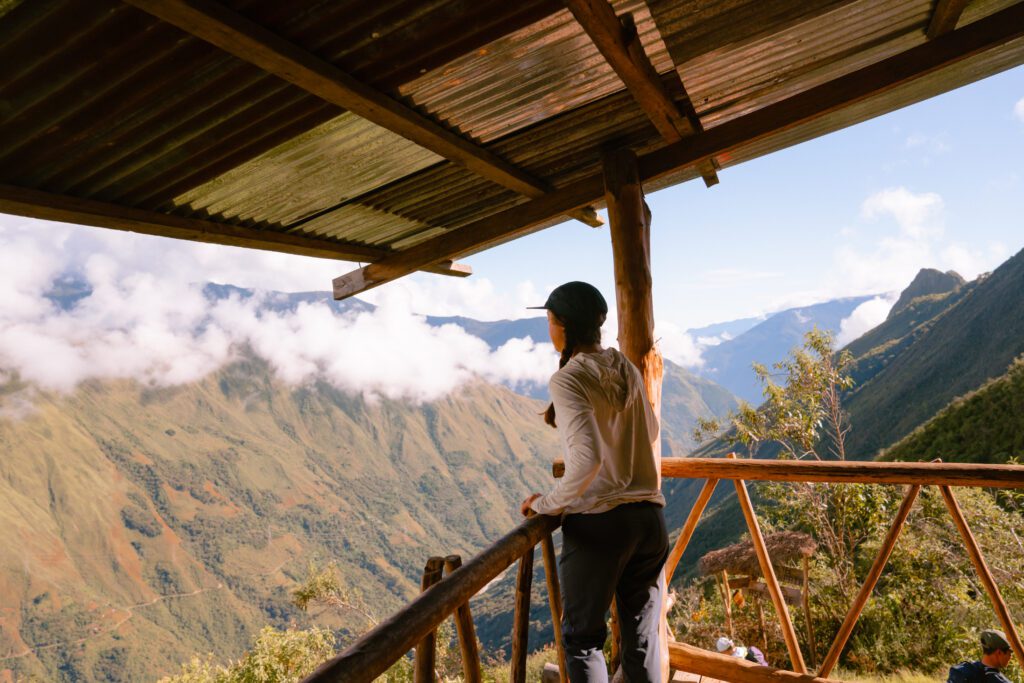
What to Expect
Opting out
We did have the opportunity to “opt out” of a few sections of the trail should the altitude become a problem or if the mileage and terrain becomes too difficult.
Personally, I’d recommend training as if there aren’t opt out options, knowing in the back of your mind that they are there just in case.
The first opt out option was on Day 2 to take a horse the 3 miles from Sky Camp to the top of the Salkantay Pass.
As much as I didn’t want to, for safety reasons, I opted to do this since I was struggling with the altitude. About half of our group did as well.
And to be honest, it was a beautiful way to take in what I believe was the most impressive and incredible scenery on the entire trail.
The next opt out option was on Day 4 from Lucmabamba to Aguas Calientes.
The first half was by bus and the second half was by train.
Some people opted just to take the bus, then joining to hike the rest of the way with the group. Some hiked the first section, then opted for the train. Some opted out for both sections. And many of us hiked the entire 15.5 mile day.
Water, Bathrooms, and Snacks on Trail
You’ll want to fill your backpack hydration bladder with 2-3L of water (or water bottles if that’s what you prefer) each morning before heading out on the trail.
Each morning after breakfast we were given a platter of packaged snacks by our chefs that we could take from and add to our daypacks.
However, if you’re like me and have specific snacks you love when hiking, be sure to pack those from home and add a few to your daypack each morning as well.
Along the trail there are opportunities to buy bottled water, coffee, and snacks, but I would not depend on those.
These snack spots often have rustic, outhouse style restrooms (usually no toilet seat) that you may use for 1-2 Soles.
You will often be required to use your own TP, however, so you’ll want to bring your own in your daypack (your guides will tell you this and they actually gave each of us a roll of our own).
There will also be a lunch stop each day where you’ll arrive to your chefs ready with a hot prepared meal, and plenty of water to hydrate and refill.
Showers
We had showers on Day 2 at Mountain Skyview Camp and Day 4 at our hotel in Aguas Calientes.
However, I heard from someone I know who did the same trek with Salkantay Trekking a few weeks later that they stayed at a new Jungle Domes Camp on Day 3 and had bigger, brighter domes with showers there.
I will say that body and face wipes are a must for me on these types of trips and make all the difference!
WIFI
I would assume you’re fully “off the grid” for the first 4 days of this trek.
The huts do claim to offer WIFI, but in my experience, it never really worked.
My phone did, however, pick up random WIFI on mountain tops and randomly along the trail, but I wouldn’t count on it.
Let your loved ones know when they can expect to hear from you after the trek and enjoy the wilderness!
Electric Outlets
Each of our huts did actually have lights that could be turned on and electrical outlets to charge phones and cameras (but not things like hair dryers, FYI).
This isn’t always the case while on a hut to hut trek and was a nice surprise.
I’d still recommend bringing a power bank if you plan to take a lot of photos or videos with a phone or camera.
I do still recommend bringing an electrical outlet adaptor for Peru just in case, but all of our hotels and huts did take US chargers!
One thing to note: Sky Camp is solar powered so there were time restrictions on when electricity (outlets and lights) was available which I believe was from 4-8pm.
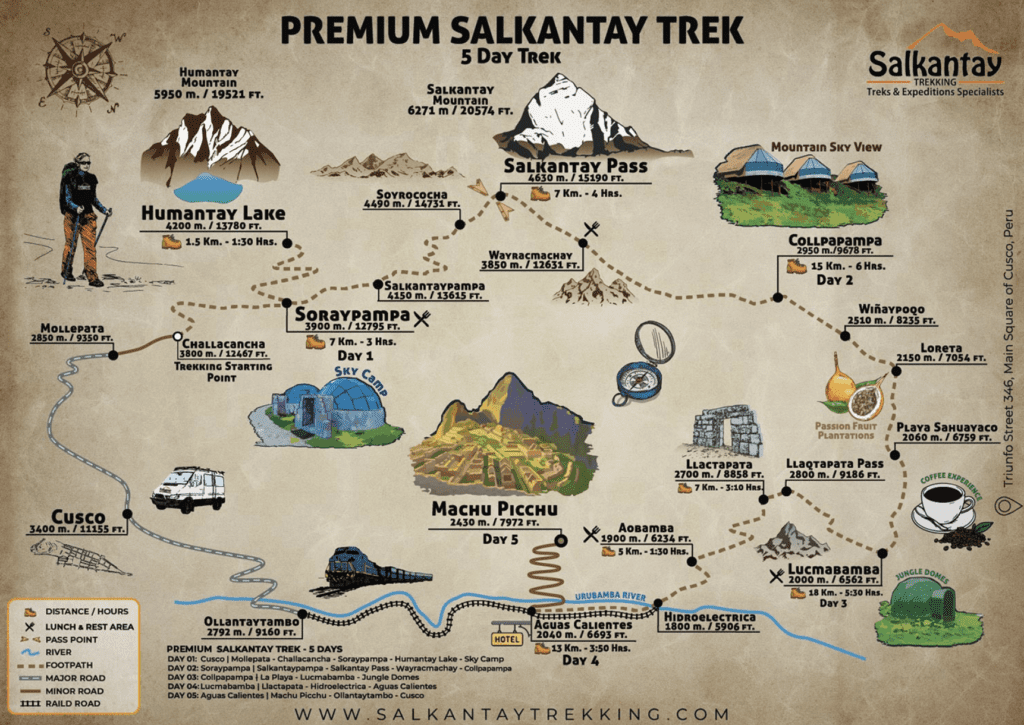
Day by Day on the Salkantay Trek – Mileage, Elevation Gain and Loss, Altitude and More
OK, if you’re like me and want the full trail stats to really understand what you’re getting into on the Salkantay Trek, here’s the breakdown.
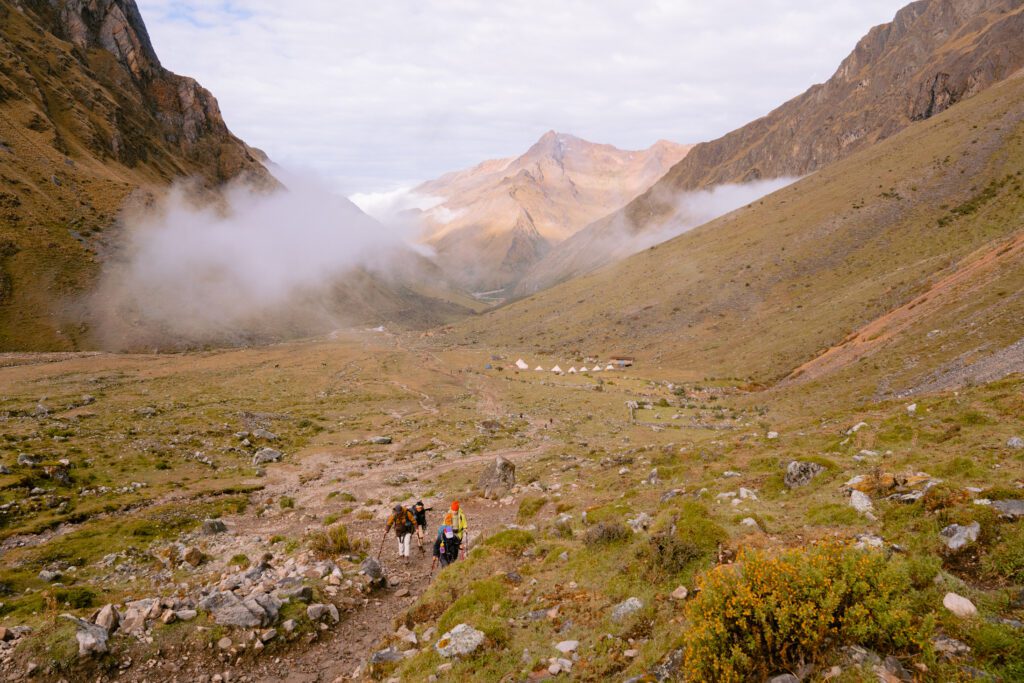
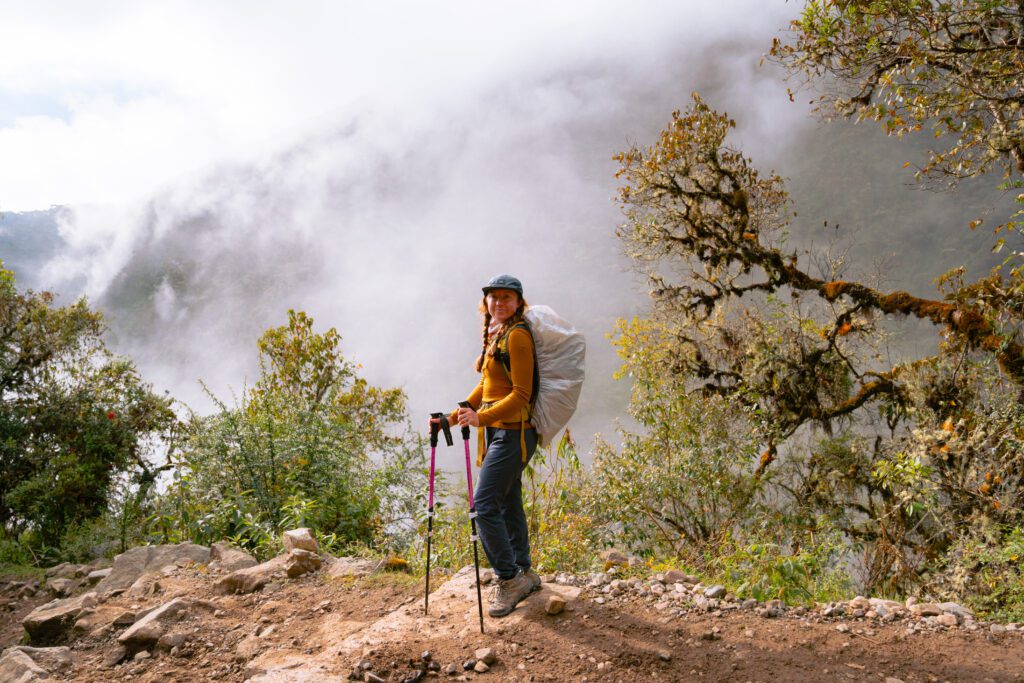
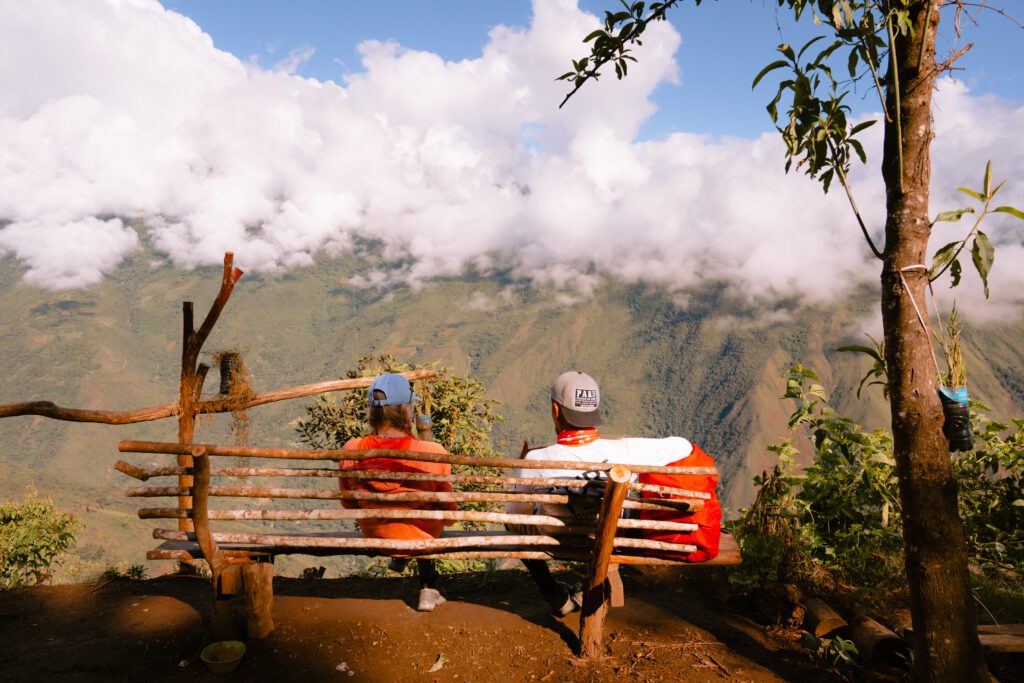
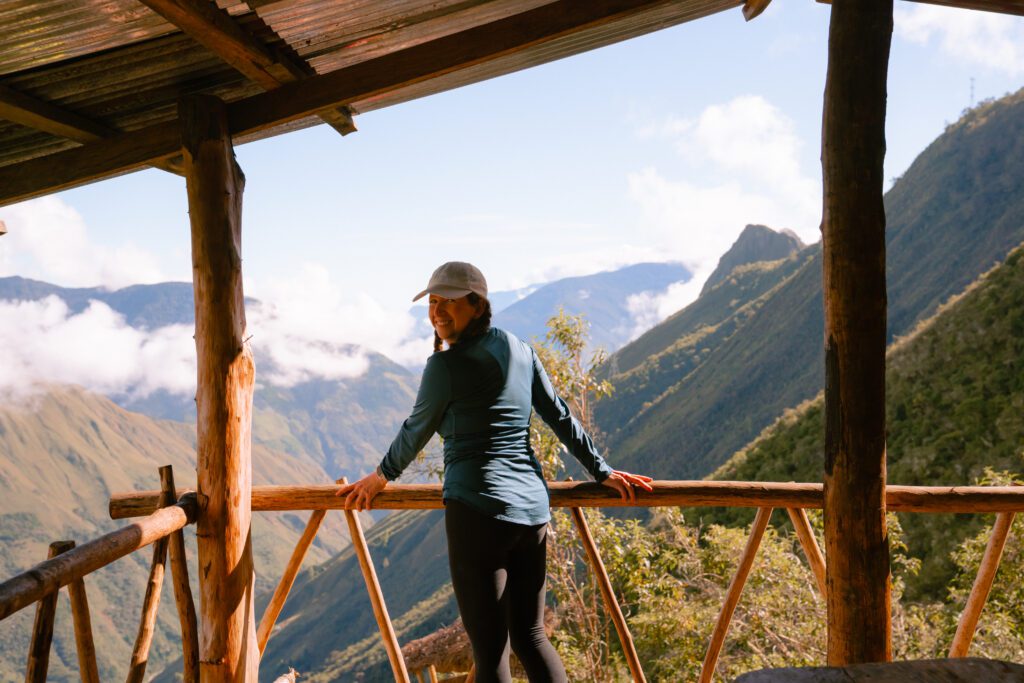
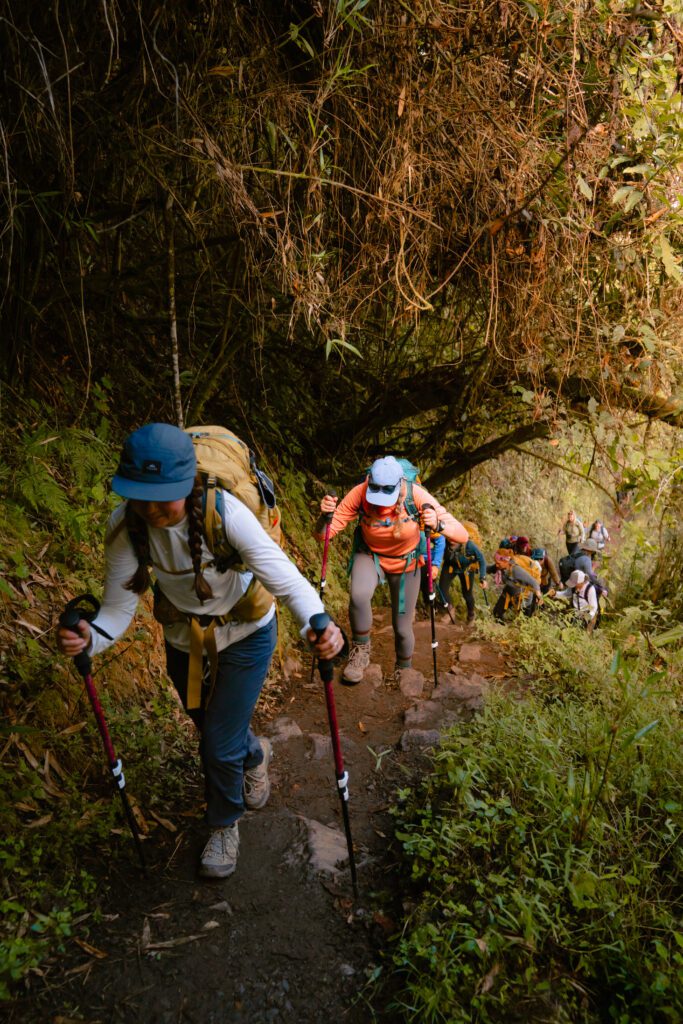
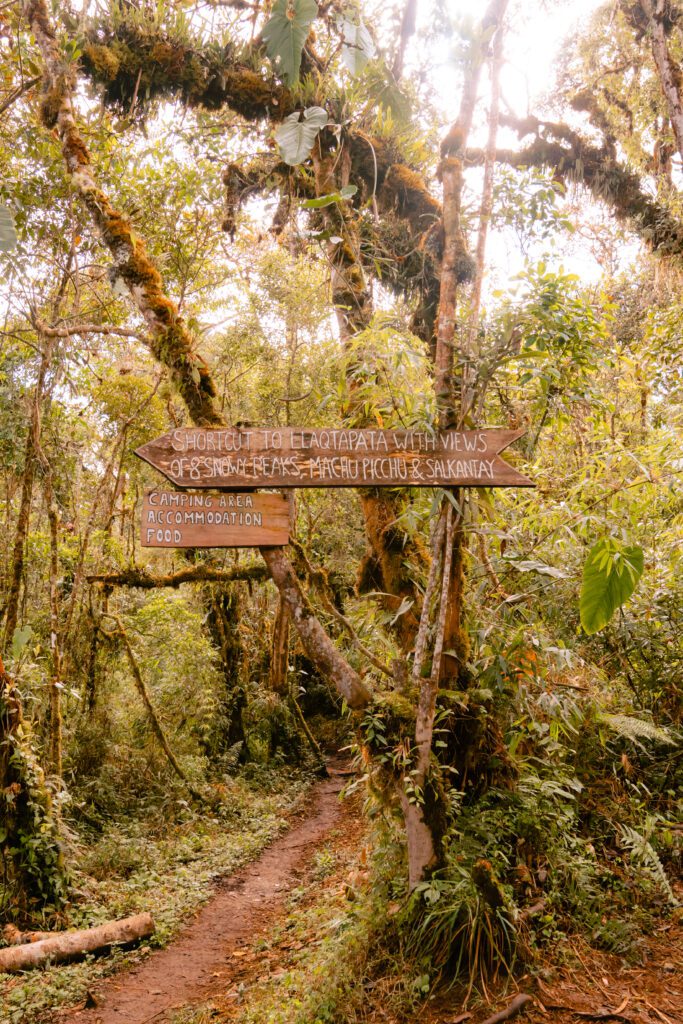
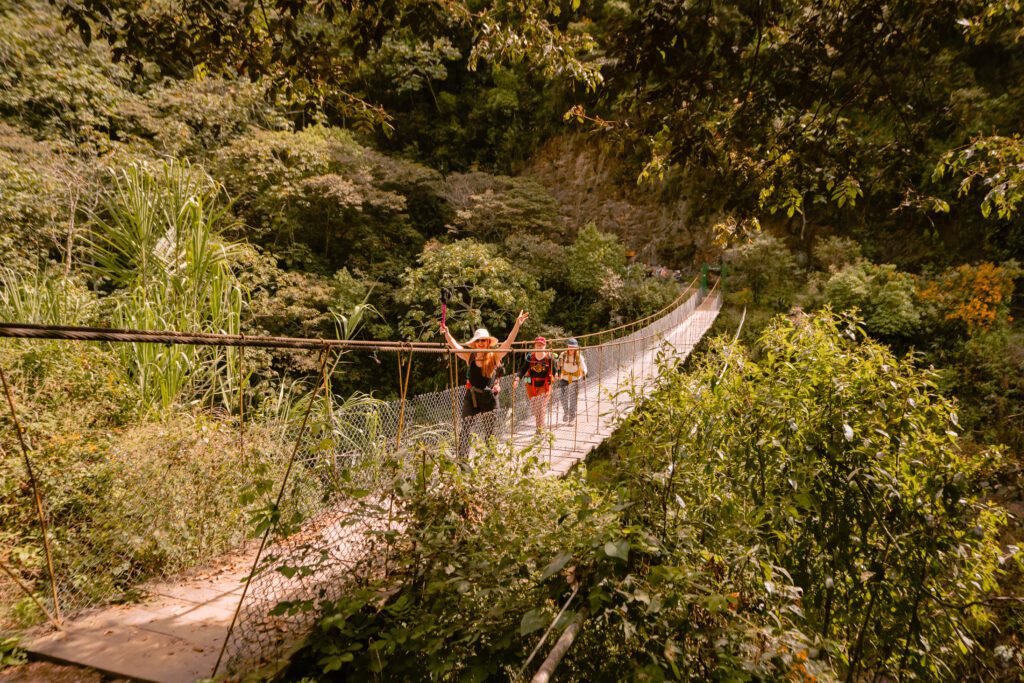
One unique thing about the Salkantay Trek is that the landscape is fairly unique each day ranging from high altitude alpine landscape to hot and humid jungle.
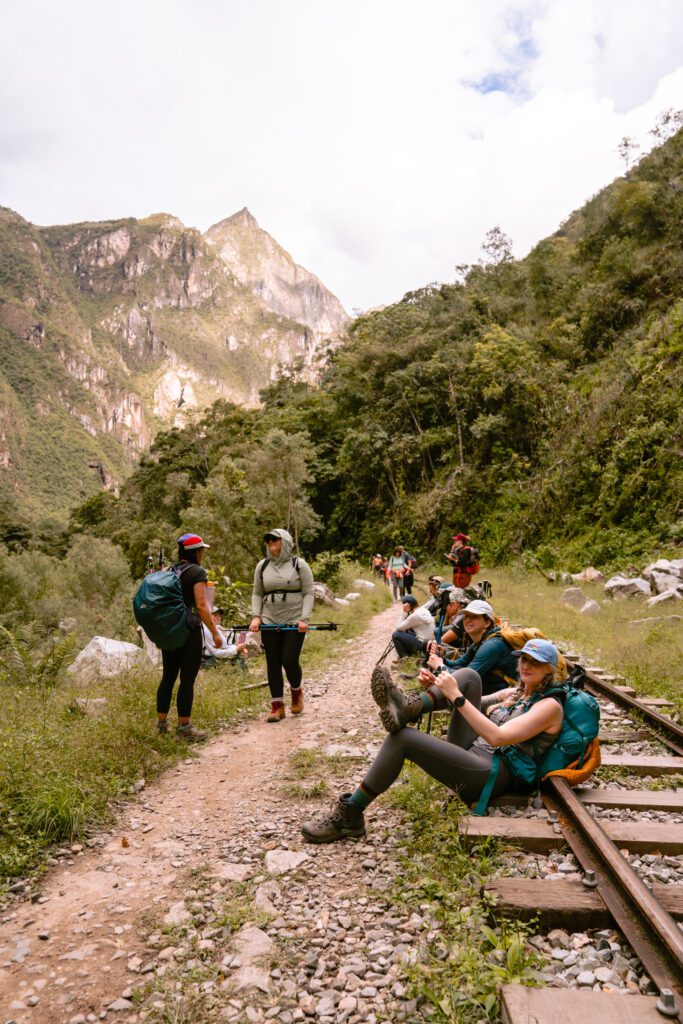
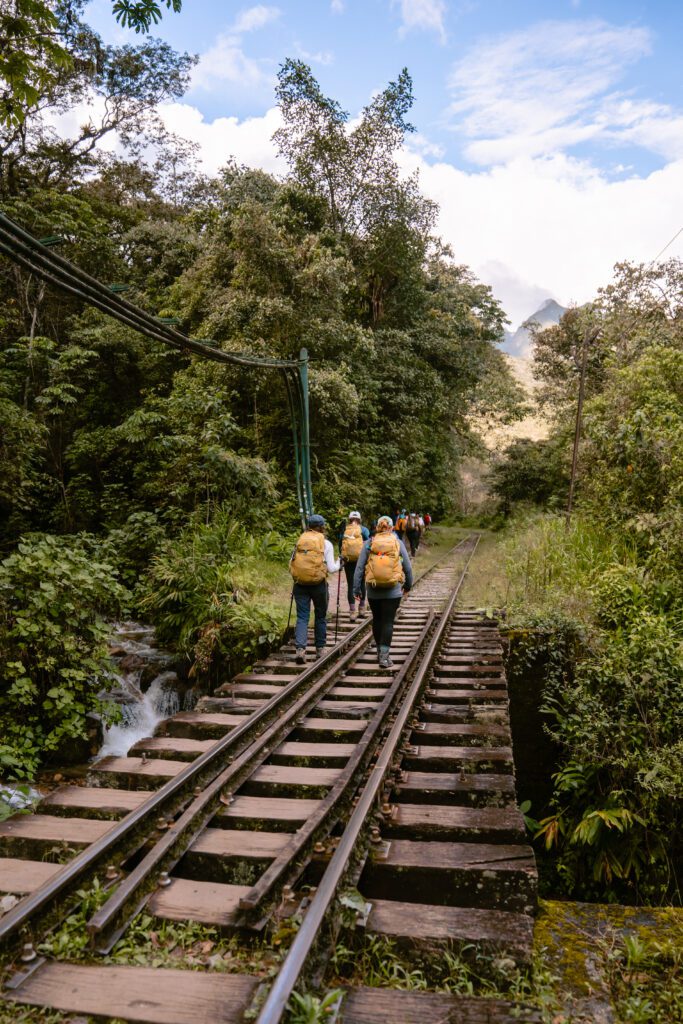
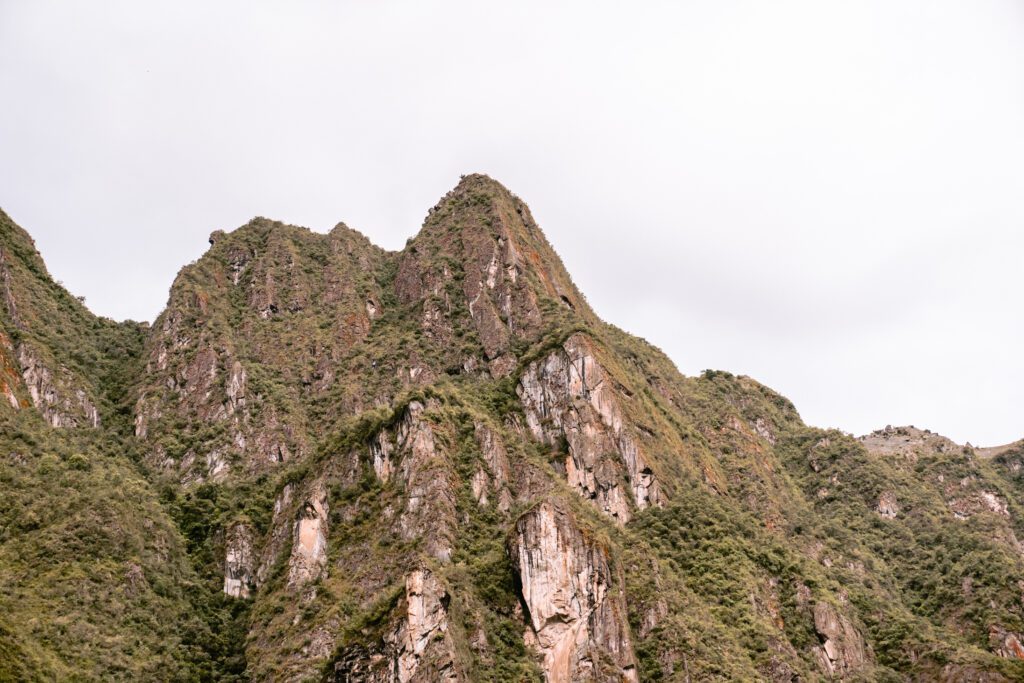
I’ve included photos to give you an idea of what to expect each day, as well as some of the other unique experiences we had along the way.
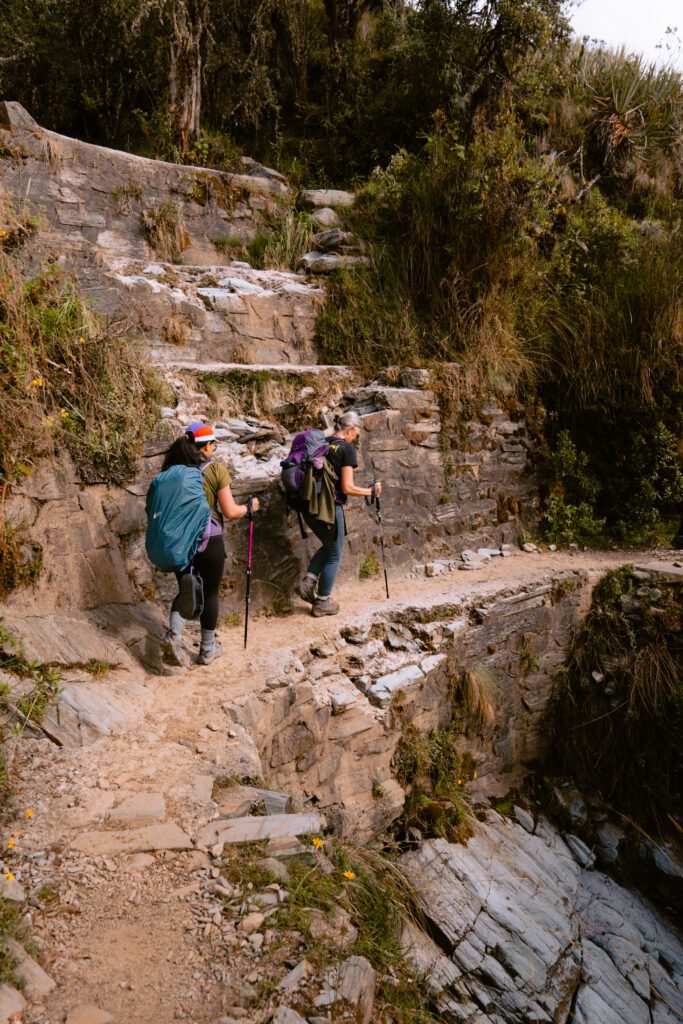
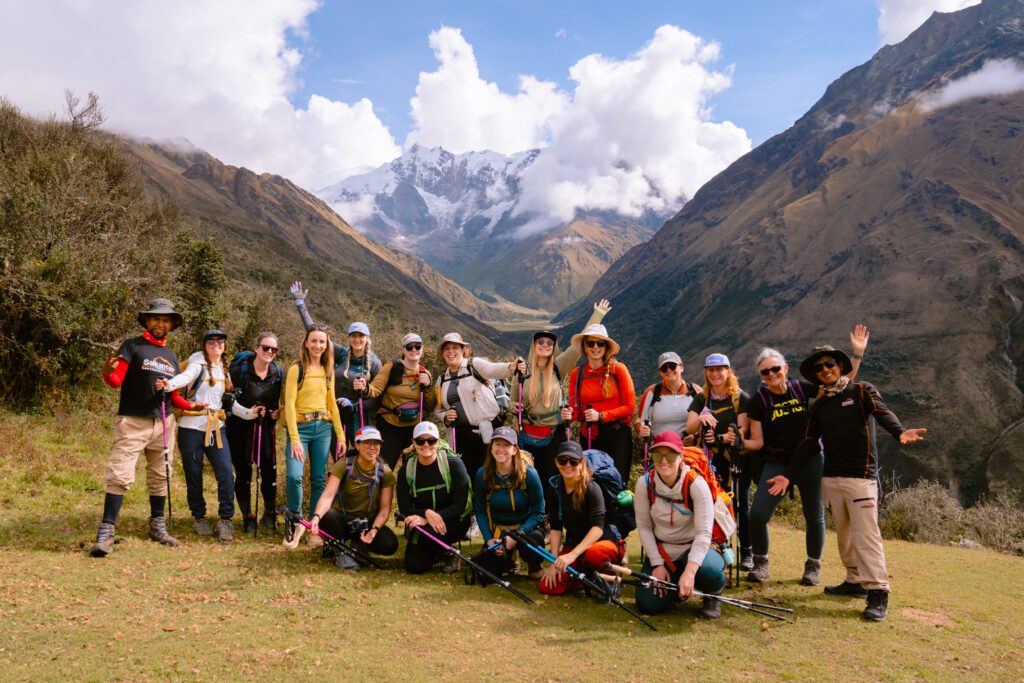
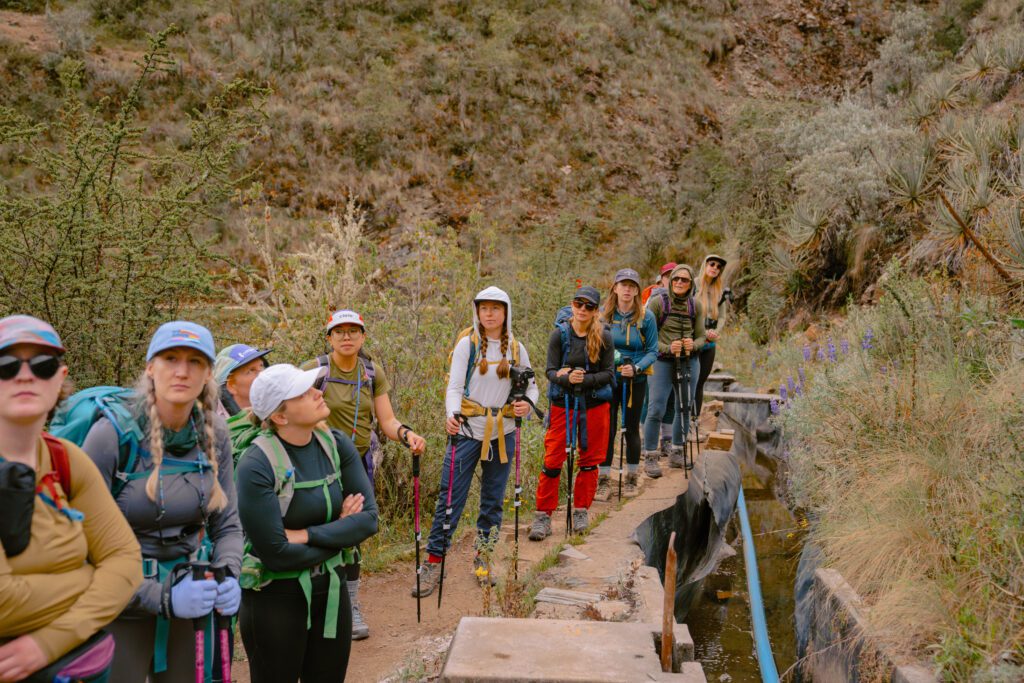
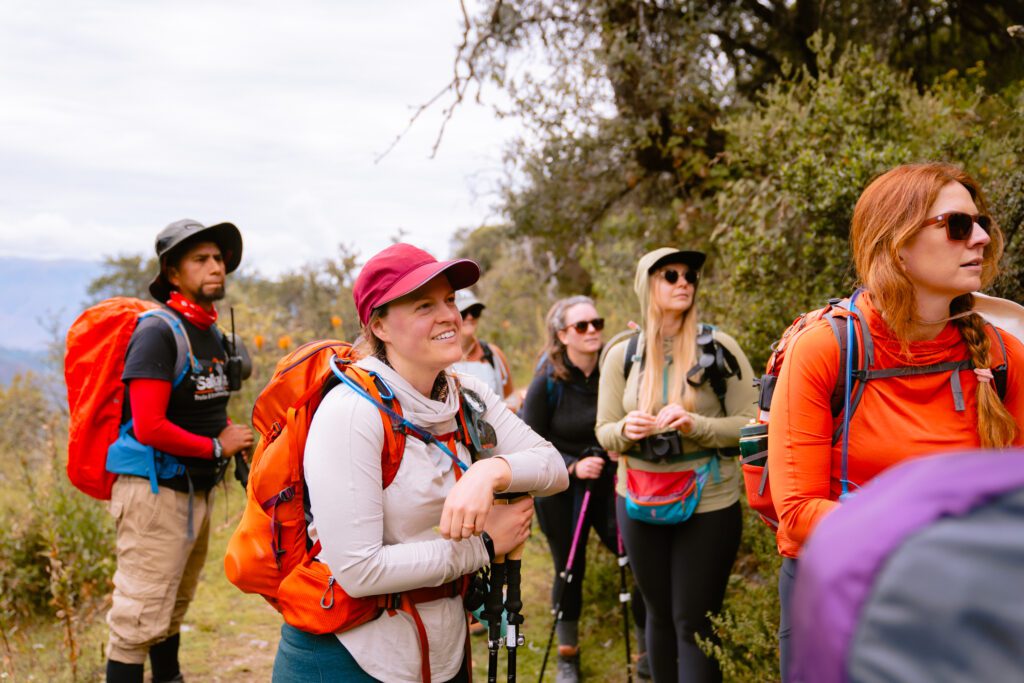
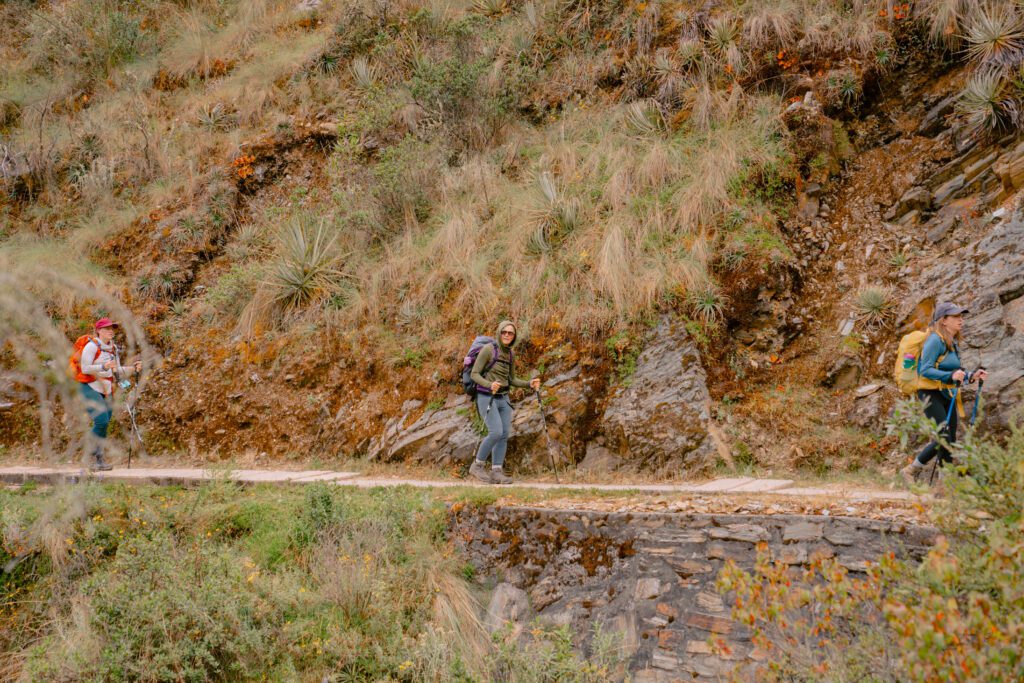
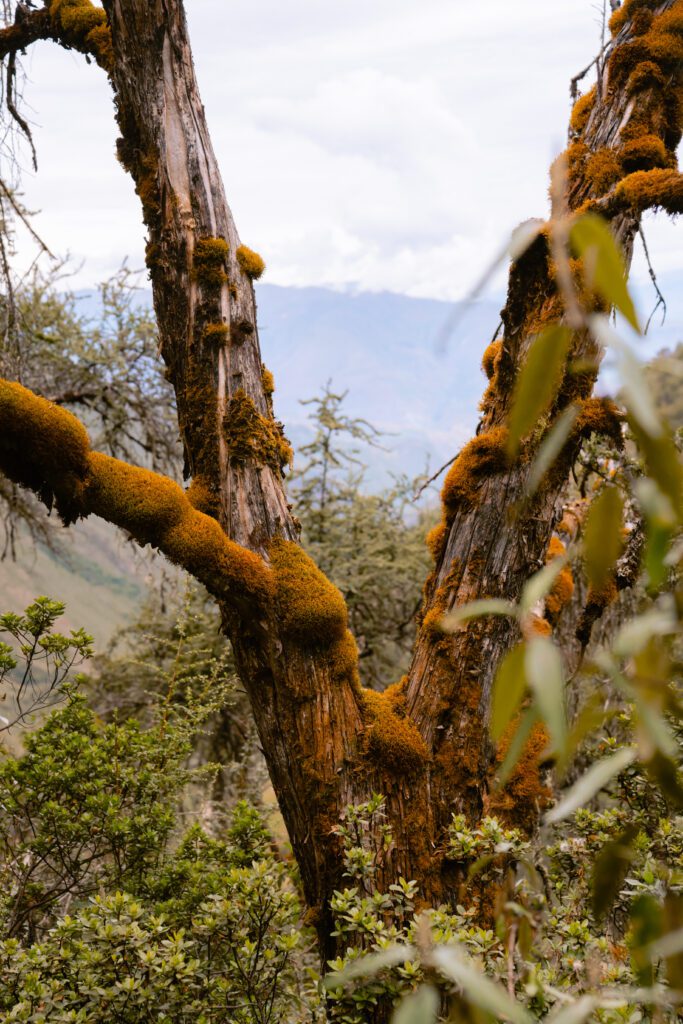
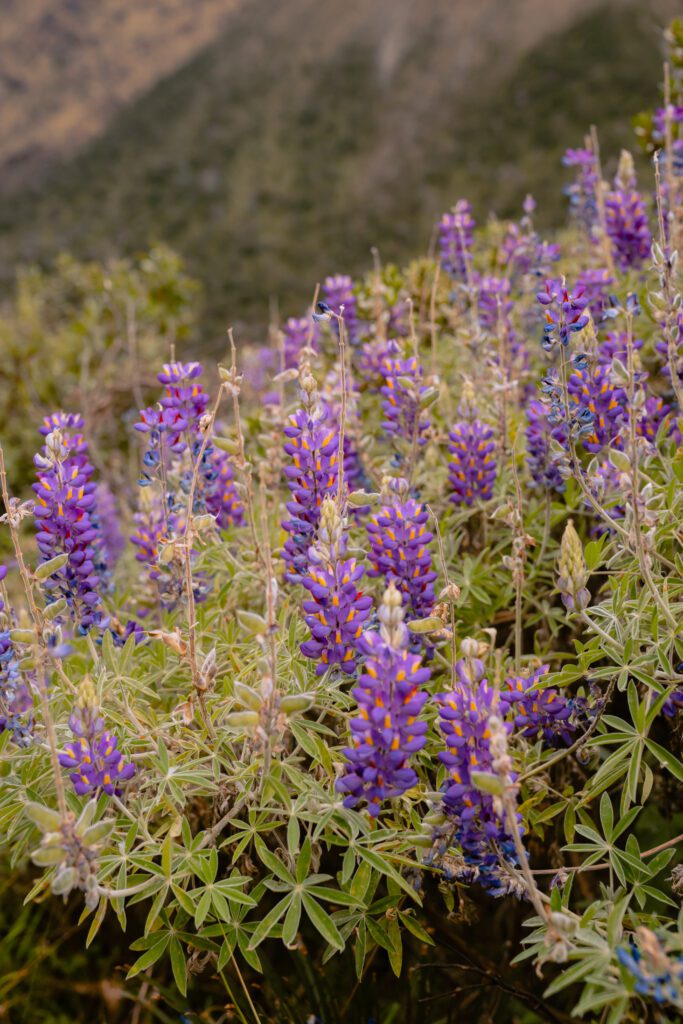
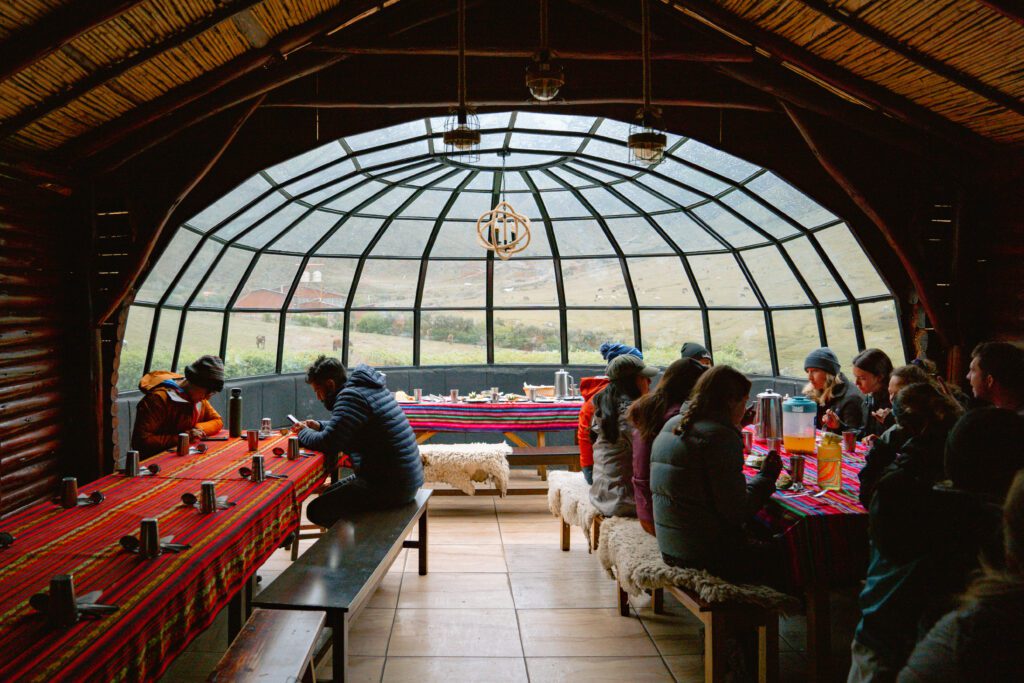
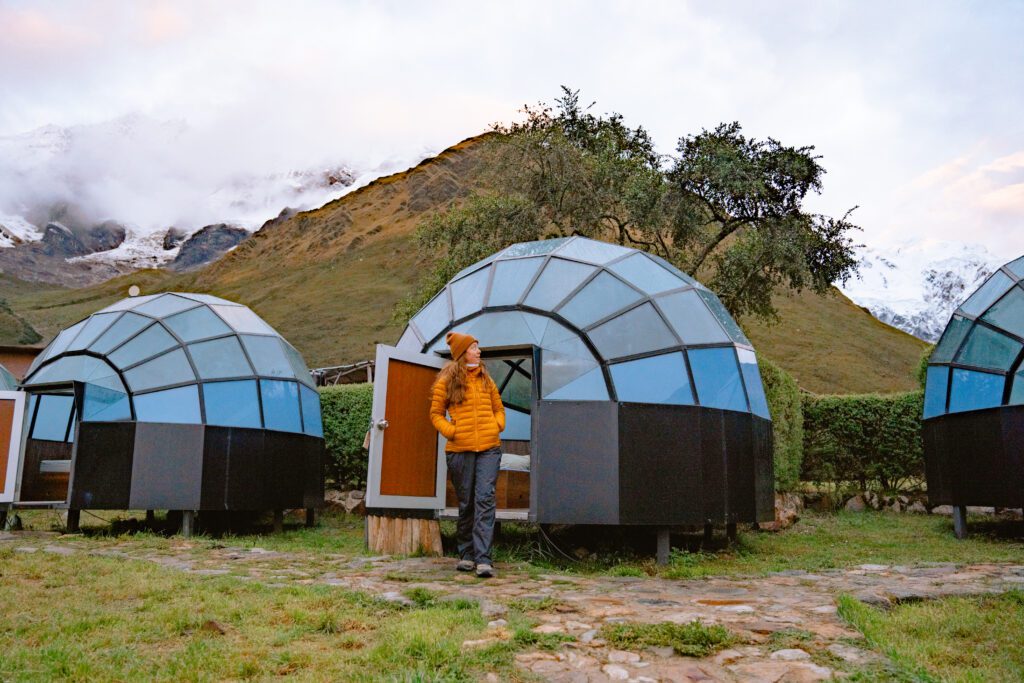
DAY 1
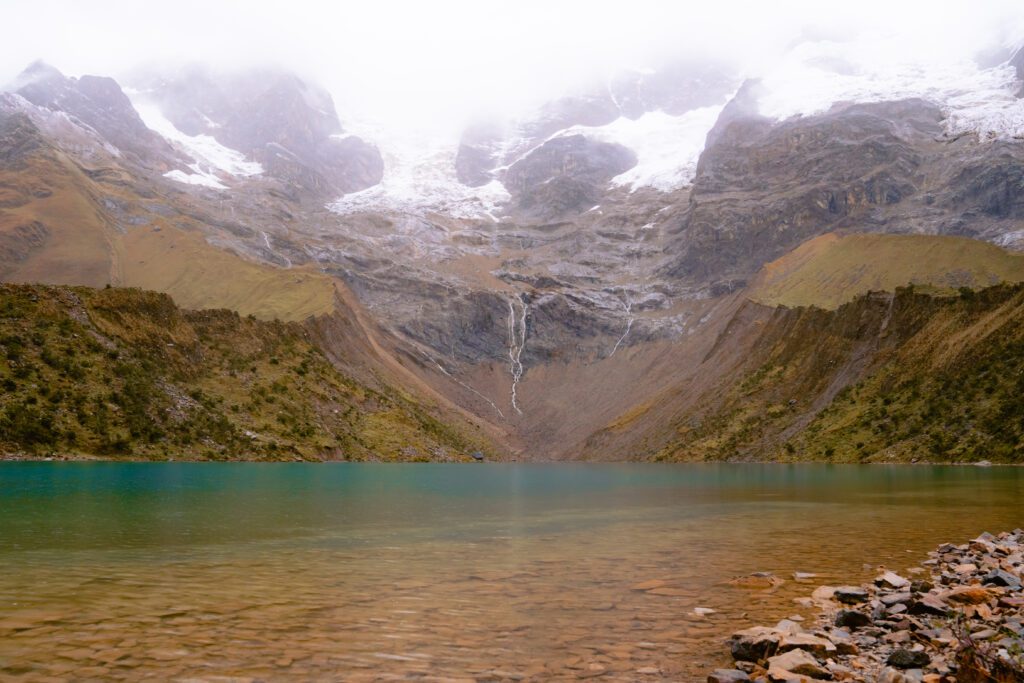
Challacancha > Soraypampa (Sky Camp) with optional Humantay Lake
Miles: 6
Elevation Gain: 700 feet (+/- 985 feet if you add the lake)
Elevation Loss: 0 feet
Highest Altitude: 13,780 feet
Day 1 on the Salkantay Trek started with a 4am pickup at our hotel in Cusco.
We then had a few hour bus ride through the mountains where we stopped for breakfast in Mollepata.
Like many of the spots along the trail where you’ll stop for lunch, snacks, water, or a restroom, they’re often an extension of someone’s home and family business.
After breakfast we took the bus another couple hours to the trailhead at Challacancha where the trek officially began.
(Tip: if you get car sick, ask to sit at the front of the bus)
While the hiking this day isn’t long or strenuous compared to future days on the trail, it is meant to help your group acclimate as you approach the next couple days of high altitude. And for many of us became pretty exhausting as we approached camp because of the altitude.
The trail starts with some incline and incredible views of Salkantay Mountain right off the bat. There’s a fair amount of flat sections along the aqueducts as well.
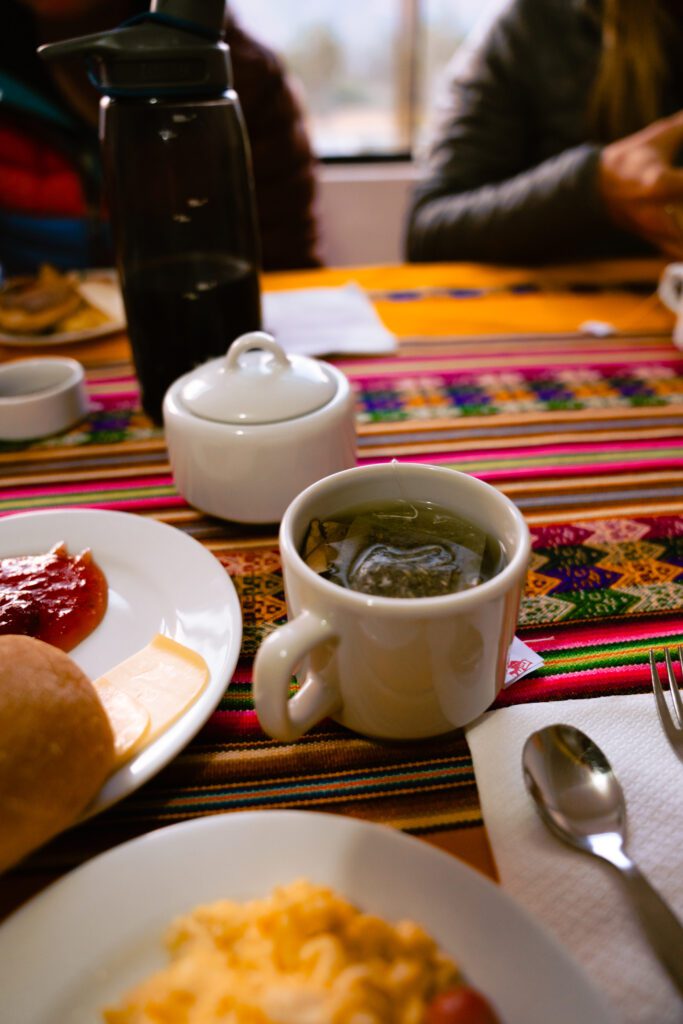
Once reaching Sky Camp, we were served Coca Tea (which helps with the altitude) and appetizers in the main lodge area (a really nice touch that would be offered each day upon arriving to camp).
Some of the group opted to hike to Humantay Lake, while others chose to rest in their huts.
We had dinner and went to sleep pretty early!
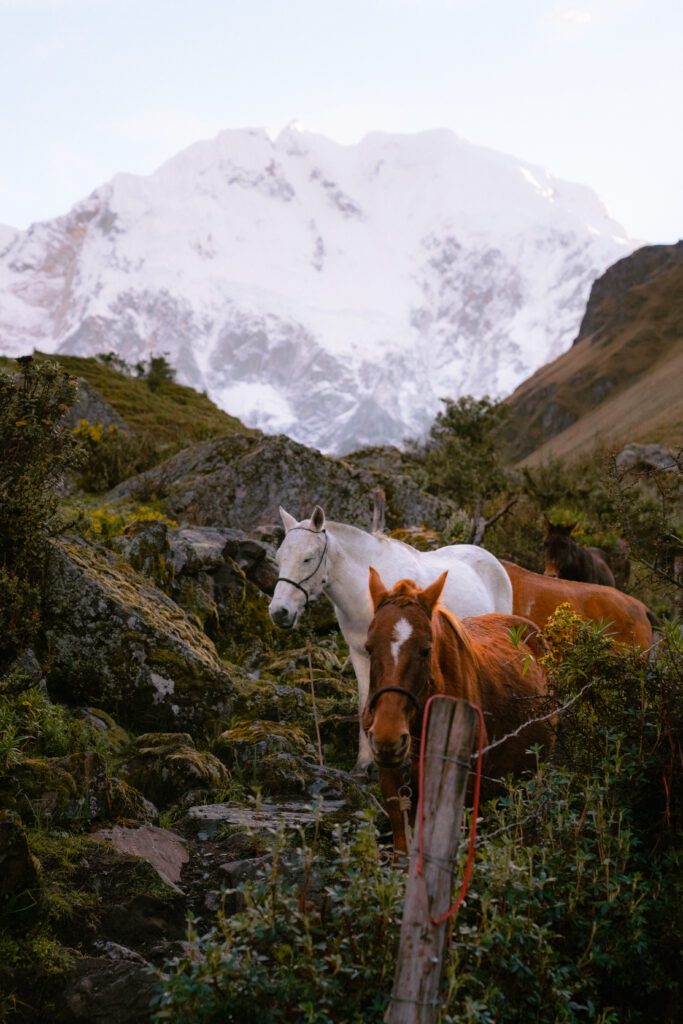
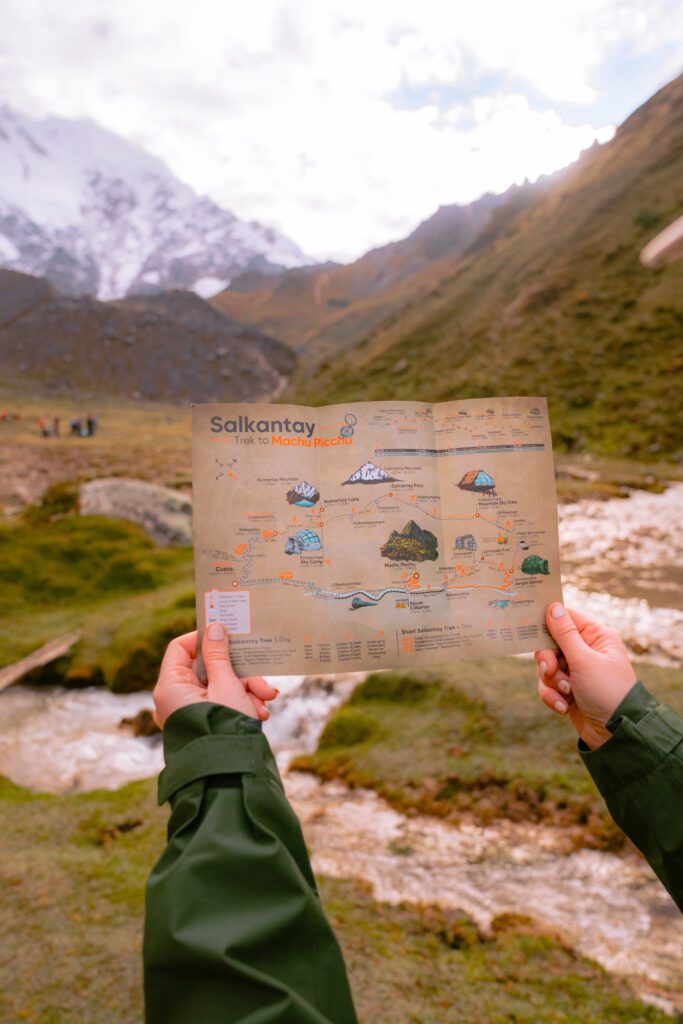
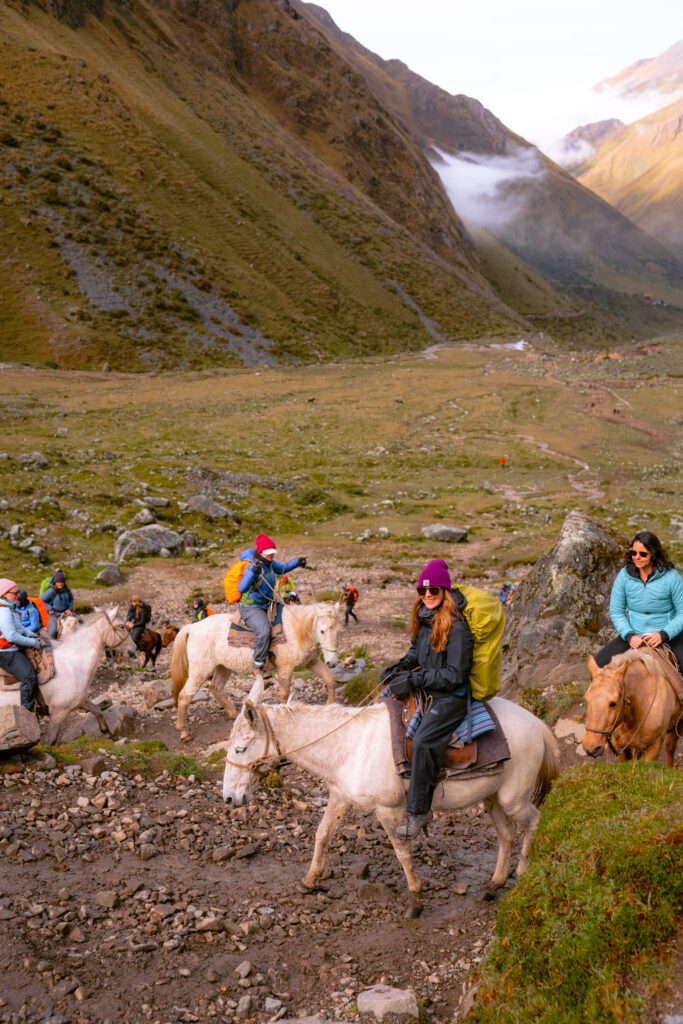
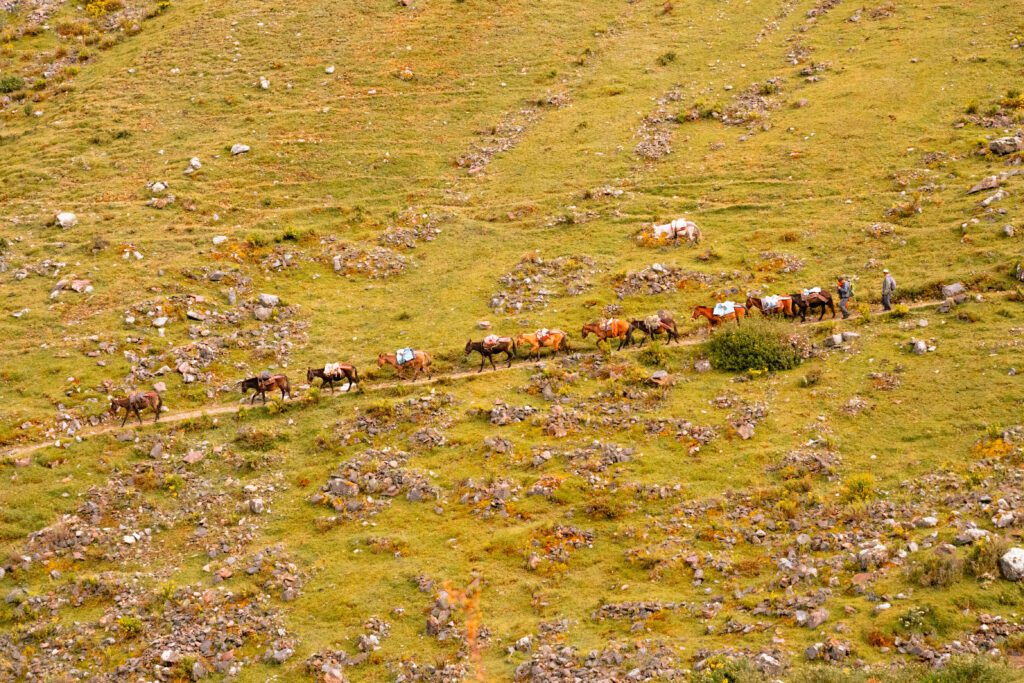
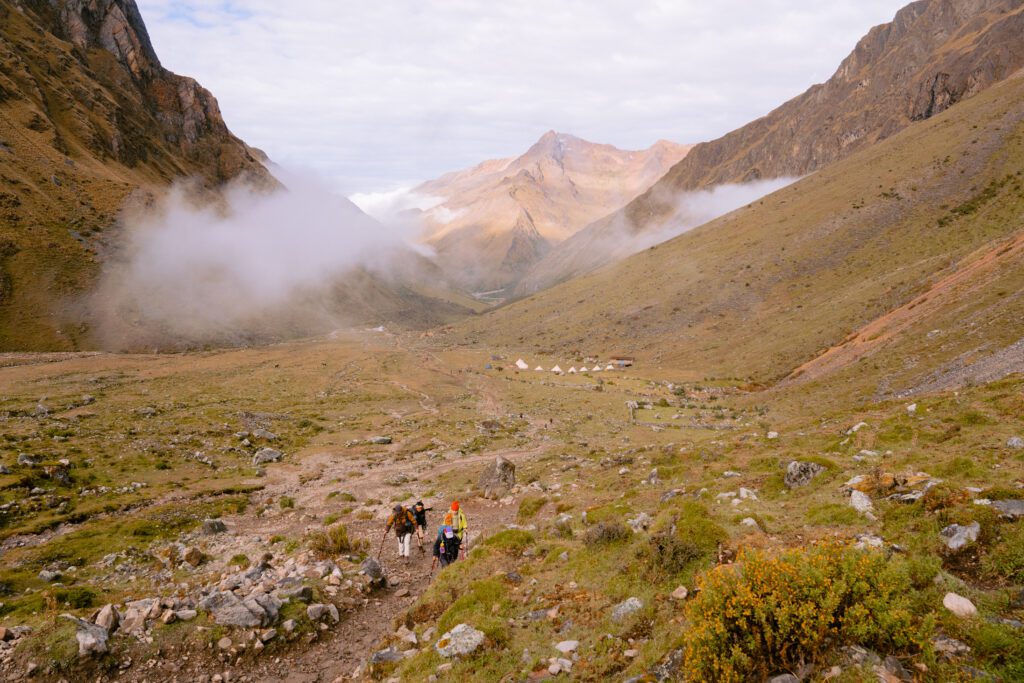
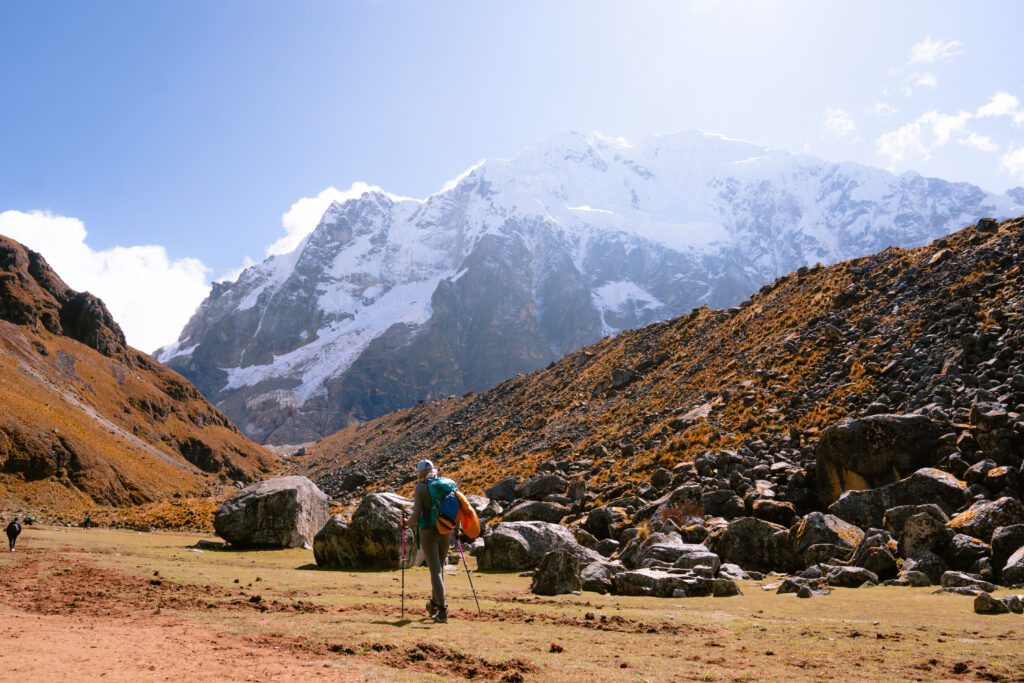
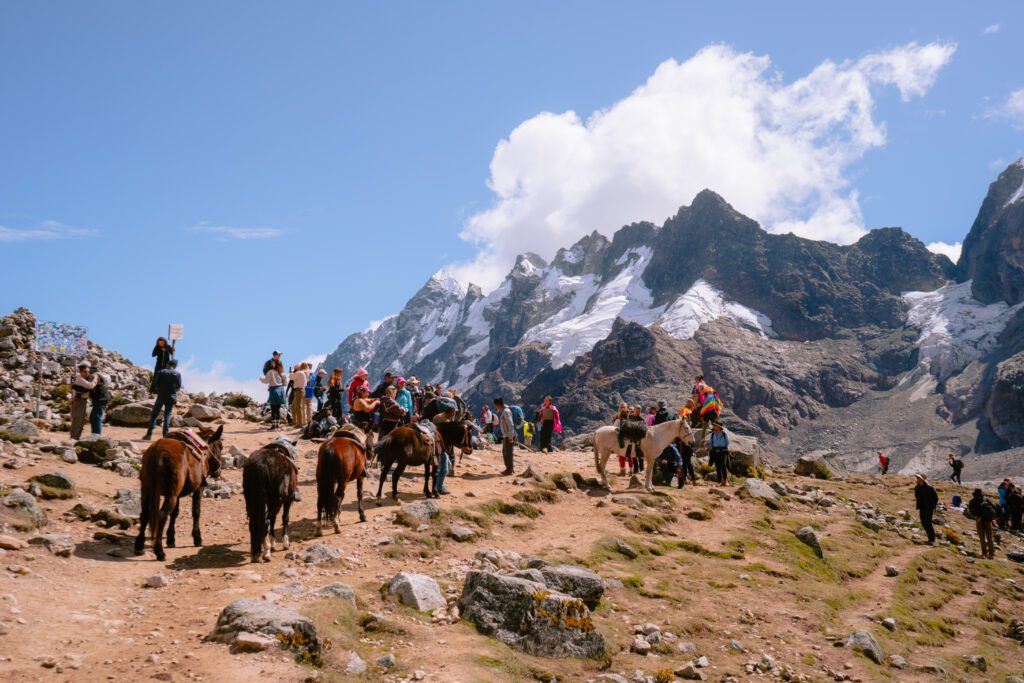
DAY 2
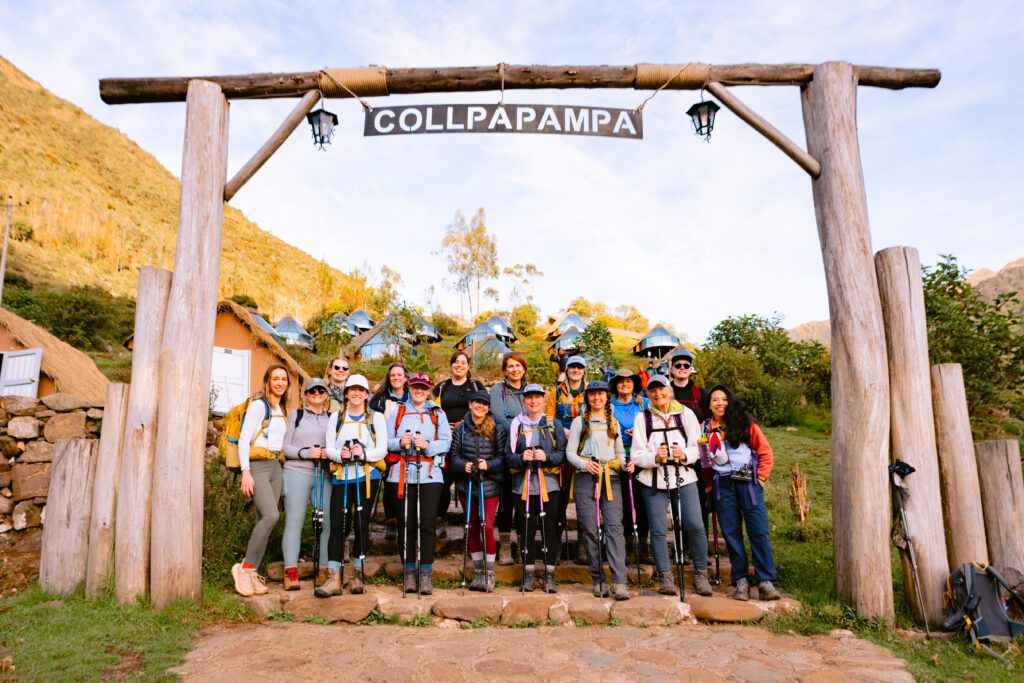
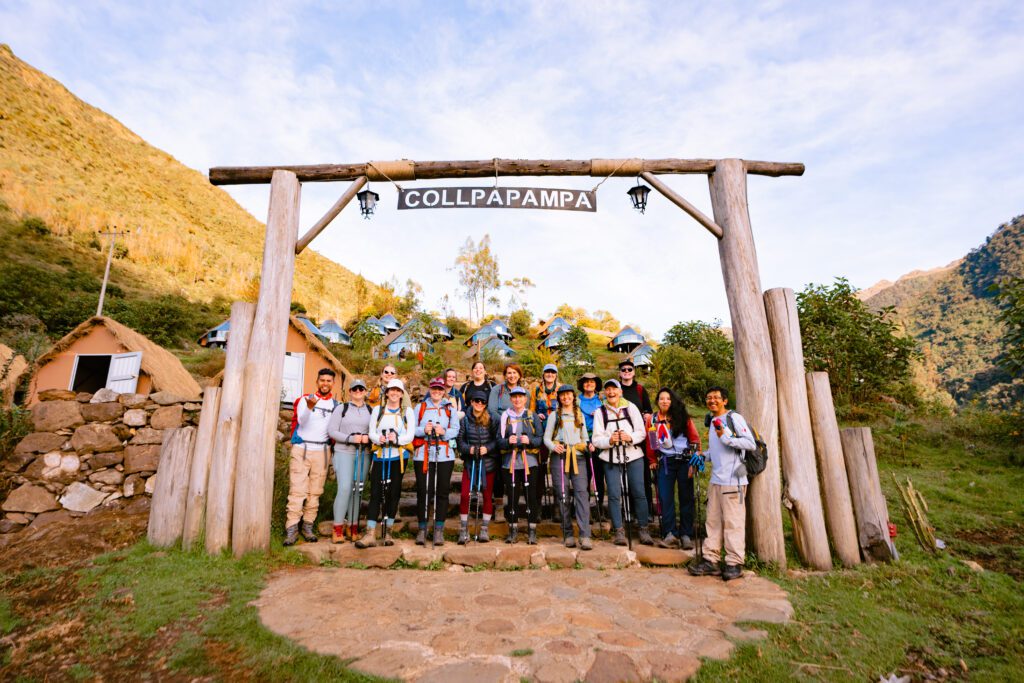
Soraypampa > Salkantay Pass > Collpapampa (Mountain Sky View Camp)
Miles: 14
Elevation Gain: 2,400 feet
Elevation Loss: 5,675 feet
Highest Altitude: 15,190 feet
Day 2 on the Salkantay Trek started by being woken up by our guides knocking on our hut door to deliver hot Coca Tea.
They did this each morning on the trail and I really loved it.
The trek was a 3 mile hike up to the Salkantay Pass where we’d reach the highest altitude of the entire trek at 15,190 feet (for reference, Everest Base Camp is at an altitude of 17,598 feet).
I was really struggling with the altitude and having a hard time breathing even just talking or walking, let alone hiking, so I opted to take a horse up to the pass along with about half our group.
(More on my experience with the altitude here).
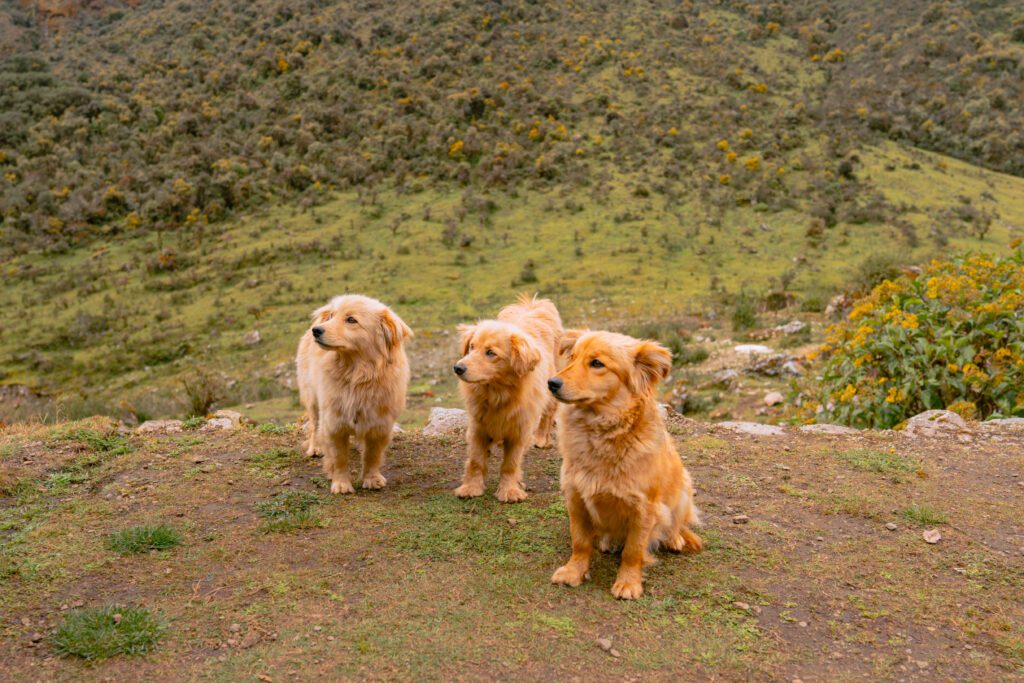
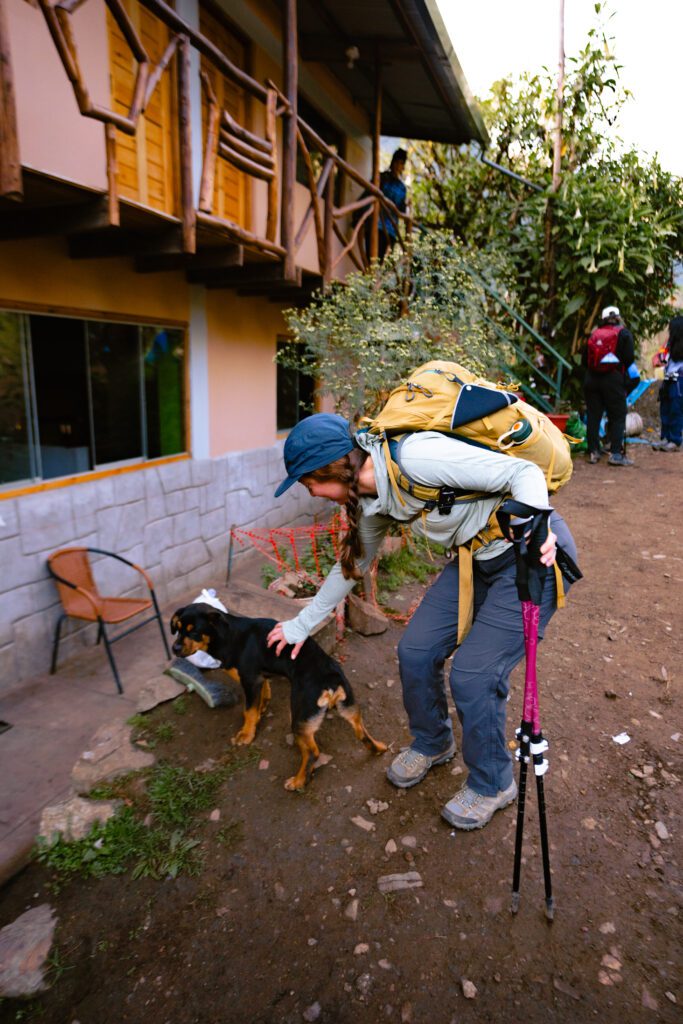
A few of the farm dogs and puppies actually followed us all the way up to the pass (apparently they’re not supposed to) and I watched the puppies chase Chinchillas in the grass from the vantage point of my horse which was really cool.
Once at the top of the pass, we were pleasantly surprised with hot Coca Tea and sandwiches that had been hiked up for us by someone on the Salkantay Trekking team.
It was incredible to be that high in altitude, sitting right next to the incredible glacial Salkantay Mountain.
We limited ourselves to about 30 minutes on at the high altitude pass before beginning our almost 6,000 foot descent and remaining 11 miles.
After a few hours of hiking, we rendezvoused with the rest of the group for lunch where our chef’s had a hot meal and water for us.
With such a significant descent on this day, it was really interesting to spend half the day in high altitude conditions, and the other half in the jungle.
As we began our final stretch of the day after lunch, we slowly dropped into the beginning of the cloud forest jungle where we’d spend the next few days.
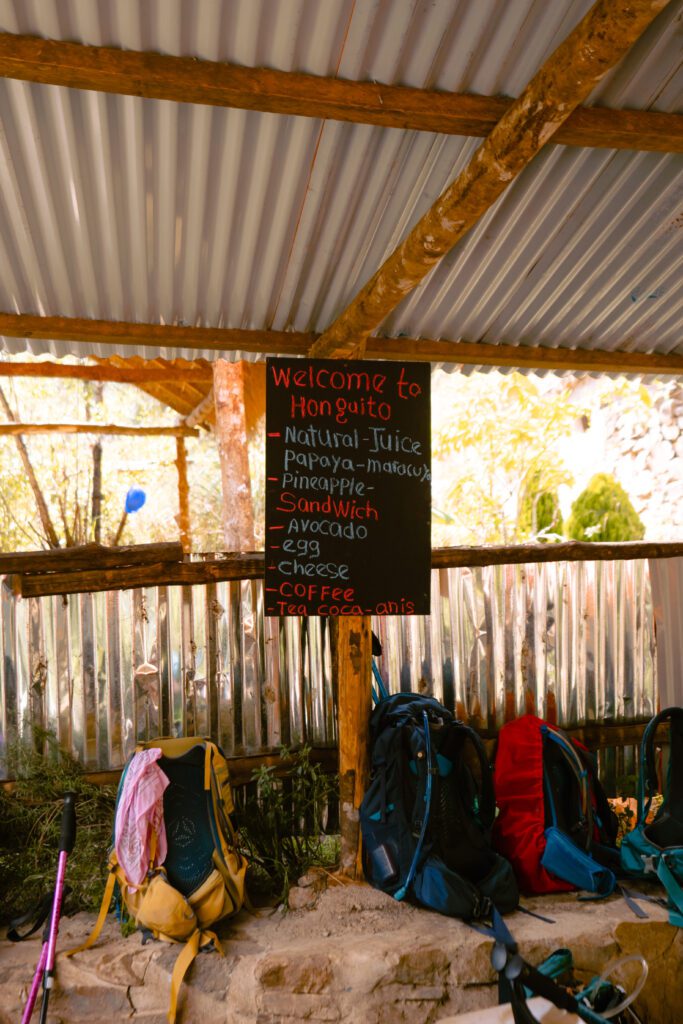
One more stop for snacks, more water, and fresh passion fruits!
I really enjoyed the amount of passion fruit consumed while in Peru.
Just as it was getting dark, we arrived to Mountain Sky View Camp. These were our most luxurious huts with real beds and showers which was a nice treat after such a long day!
DAY 3
Collpapampa > Lucmabamba (Jungle Domes)
Miles: 11
Elevation Gain: 0 feet
Elevation Loss: 2,850 feet
Highest Altitude: 9,678 feet
Day 3 on the Salkantay Trek started again with a Coca Tea wakeup call.
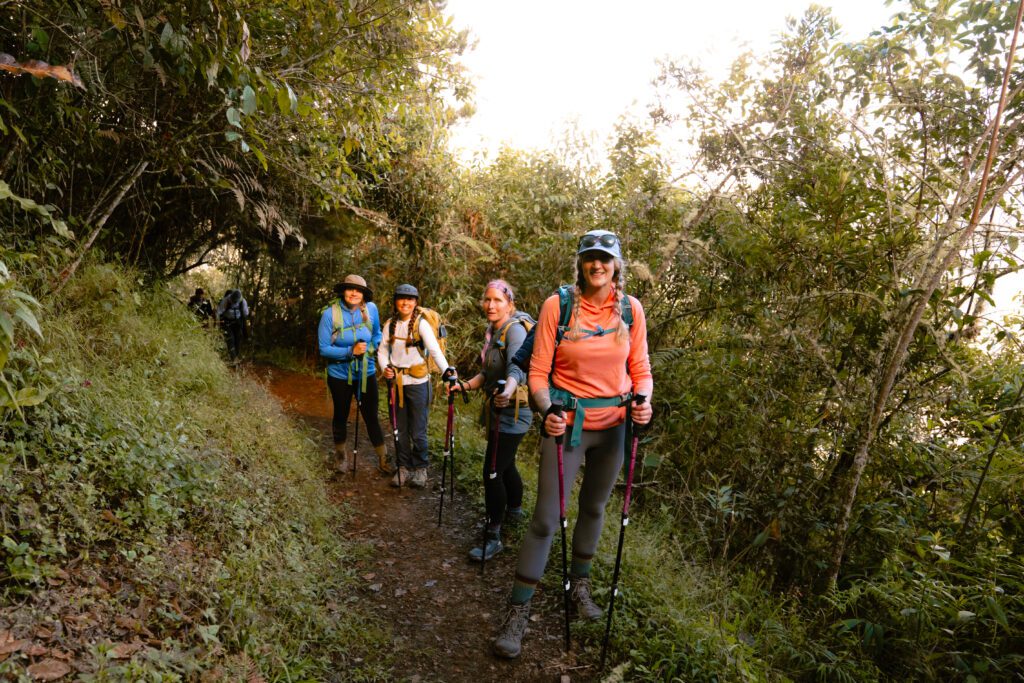
The trail today descended deeper into the jungle. It was a significant amount of road walk because a section of the trail was impassable due to recent mudslides.
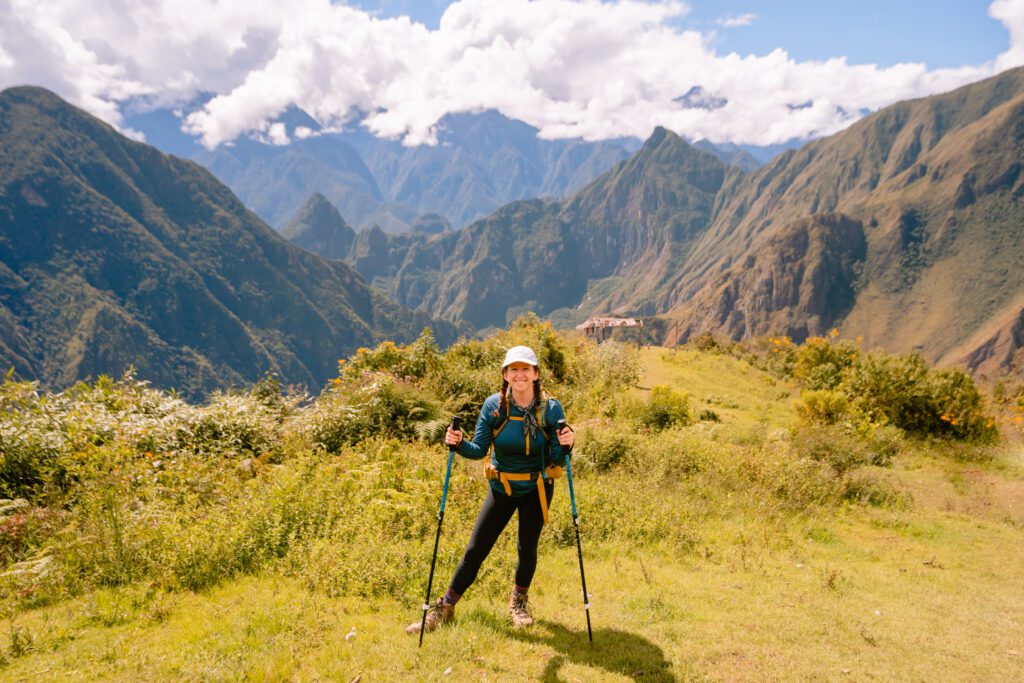
That being said, it was so beautiful being in the valley with massive green mountains all around us. I really loved seeing all the farms on what looked to be vertical plots of land right on the mountainsides. So impressive.
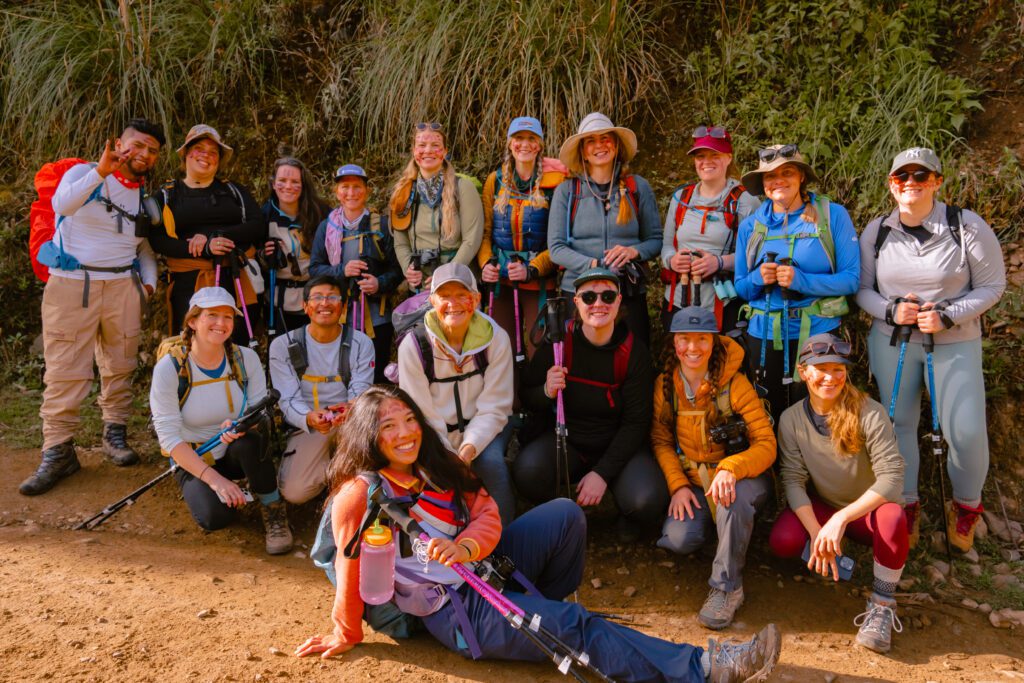
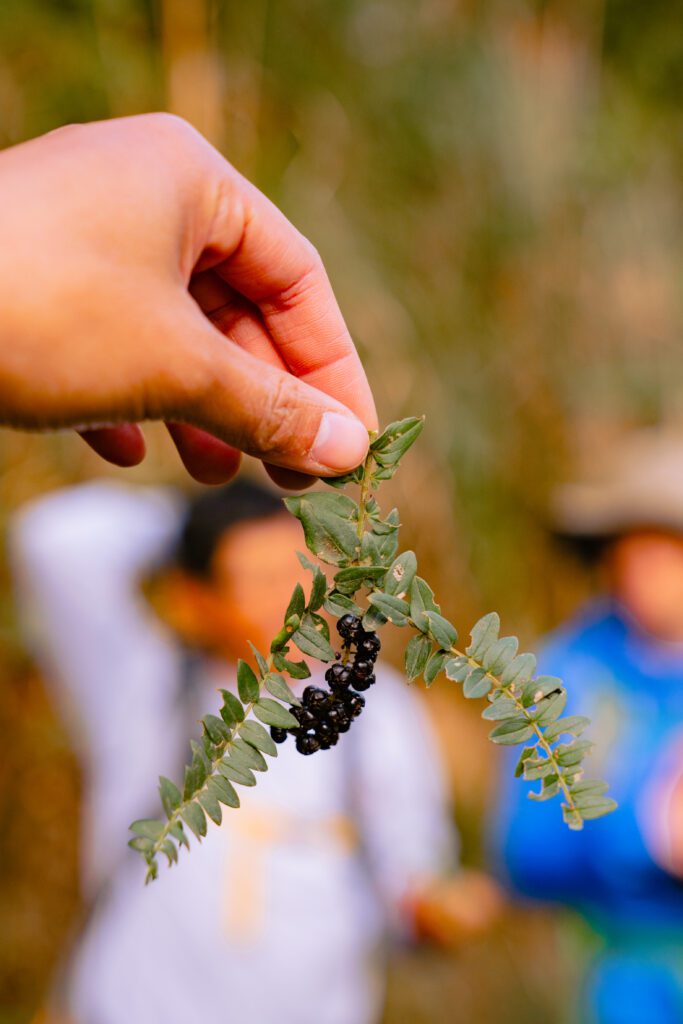
Our guides stopped many times to share their knowledge about the plants and fruit along the way.
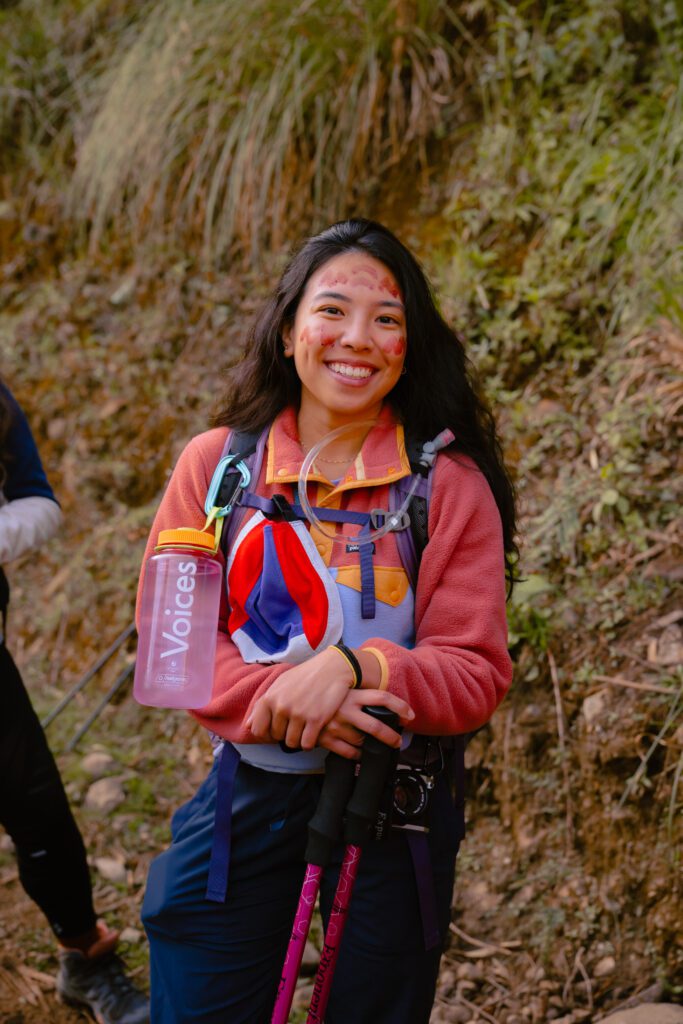
They even painted our faces with one of the wild berries, something we were told the Incans used to do.
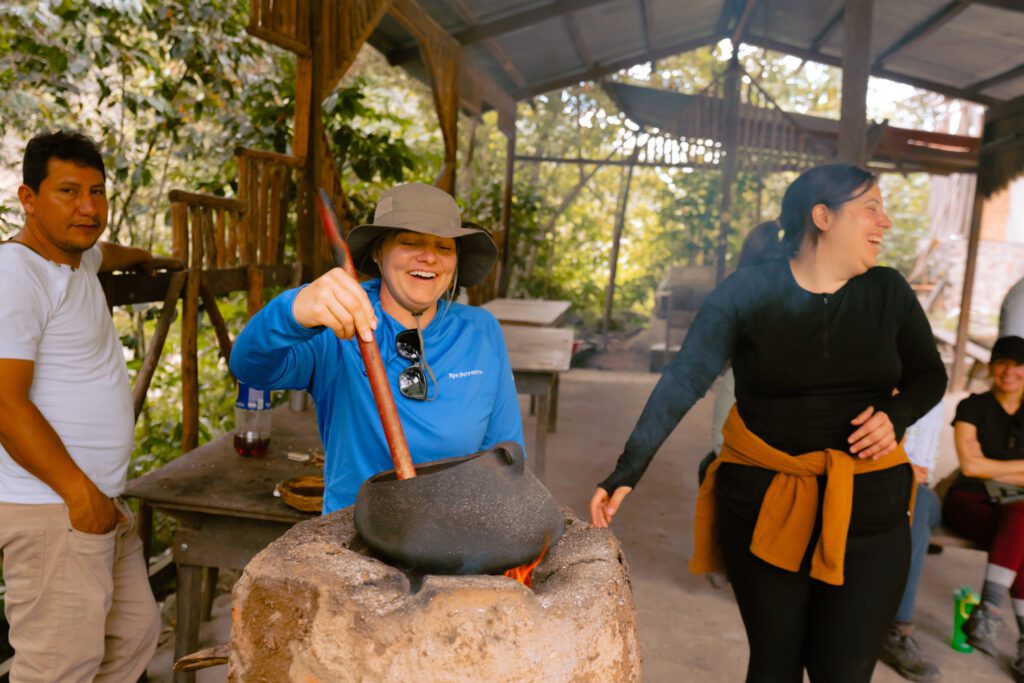
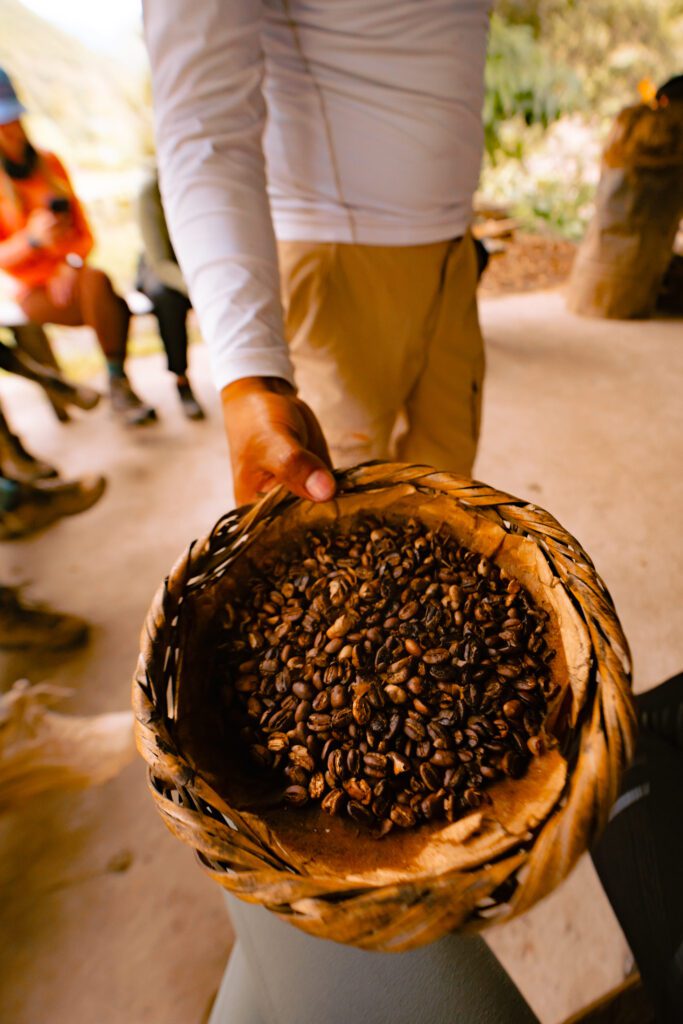
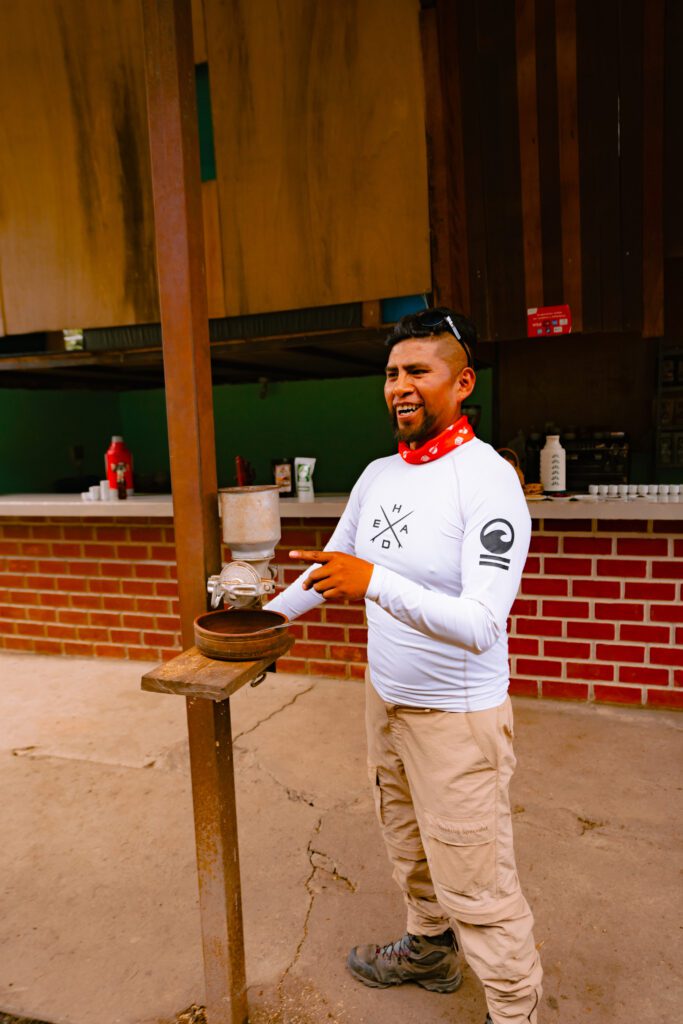
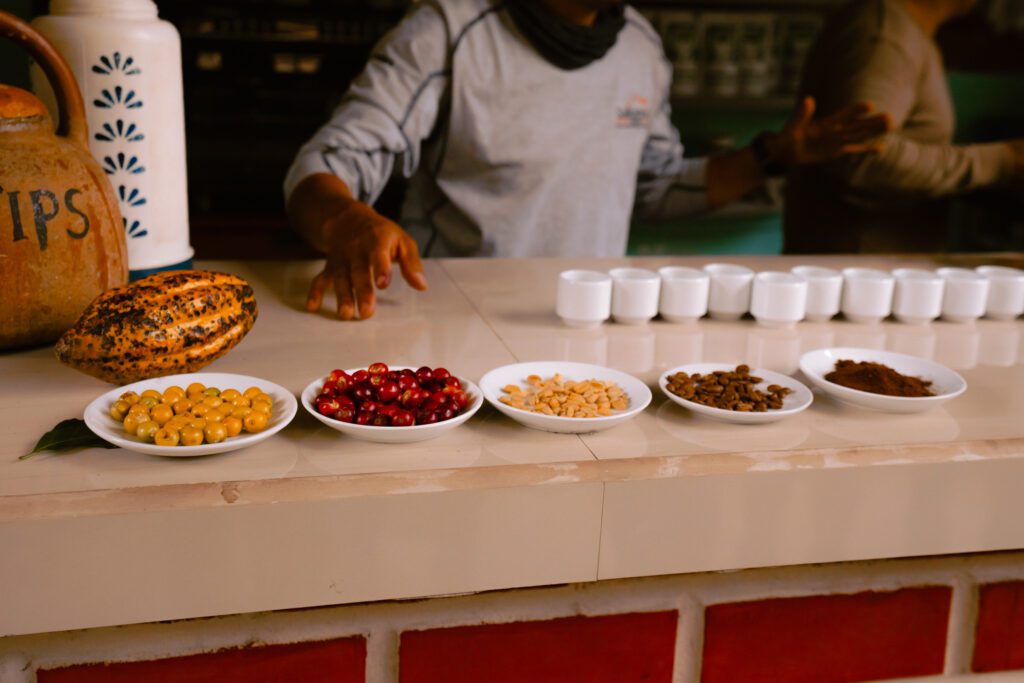
A few miles later we made it to a coffee plantation where we learned how to make it! From harvesting, to roasting, to grinding, and then enjoying it.
From here we got a quick ride to our next camp, the Jungle Domes, where an incredible lunch was waiting for us.
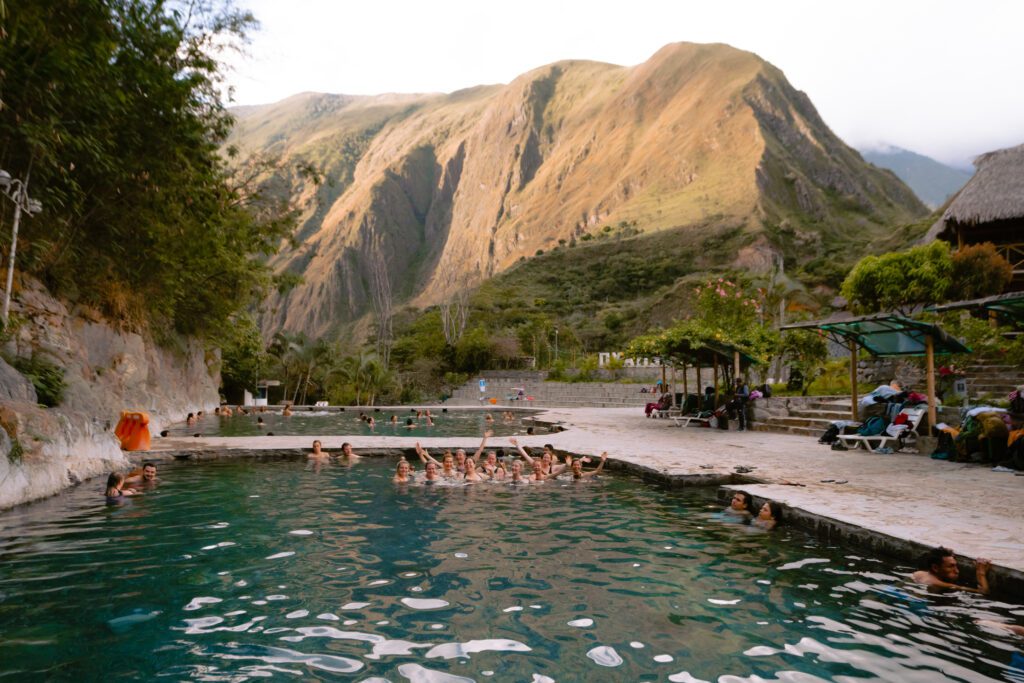
After lunch, we loaded onto a bus and drove about an hour through the mountains to the Hot Springs. And while it wasn’t super hot, it was very relaxing and refreshing nonetheless to soak our tired feet and legs.
We arrived back in time for dinner and went to sleep for another early morning tomorrow.
DAY 4
Lucmabamba > Aguas Calientes
Miles: 15.5
Elevation Gain: 2,850 feet
Elevation Loss: 2,500 feet
Highest Altitude: 9,186 feet
Day 4 of the Salkantay Trek started with a Coca Tea wakeup call once again.
We had our last breakfast with our chefs which was really sad! We were served the most incredible variety of food on this trek, I was seriously impressed.
Today the group was offered options to opt out of sections, or the entire 15.5 miles for today. This was our final stretch of the Salkantay Trek before Machu Picchu.
Some chose to take a bus for the first half of the day (skipping all of the ascent and descent), then join us for the rest of the hike into Aguas Calientes.
Some chose to hike the first section through the jungle, then hop on a train for the final miles into Aguas Calientes.
Some opted to do both bus and train.
And many of us chose to hike the entire day.
Today’s hike was almost immediately straight up a mountain, all of the daily ascent in about 3 miles along a beautiful ridgeline that was luckily in the shade, but with incredible views.
This was by far the hottest, muggiest day.
We stopped at the top of the mountain for snacks, water, restrooms, and to enjoy the views.
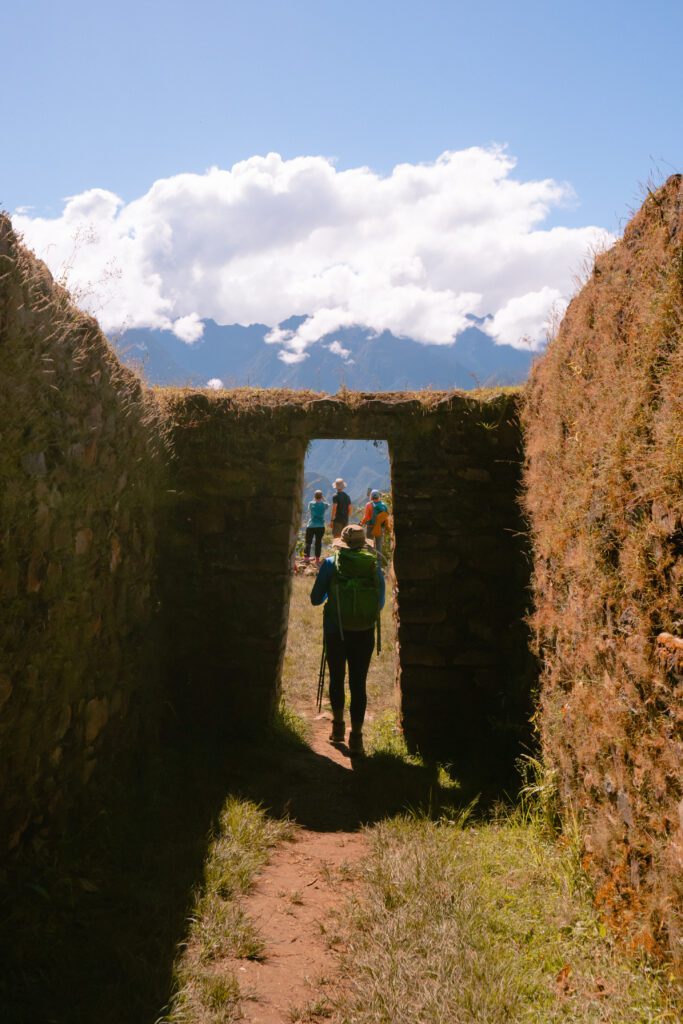
Then descended down the other side of the mountain, stopping at Llactapata, an Incan archeological site.
Luckily we had a sunny day because we could actually see Machu Picchu across the mountain range!
We continued our descent, meeting up with some of our group at the train station before our final (very long!) stretch of road walk along the train tracks into Aguas Calientes, also known as “Machu Picchu Town”.
I will say, stepping back into regular society after a multi-day trek is always a little odd feeling. And that was absolutely the case arriving at the bustling tourist town of Aguas Calientes.
We checked into our hotel (also odd feeling at first), went to dinner, then went to bed for an early wakeup for our big day at Machu Picchu.
DAY 5
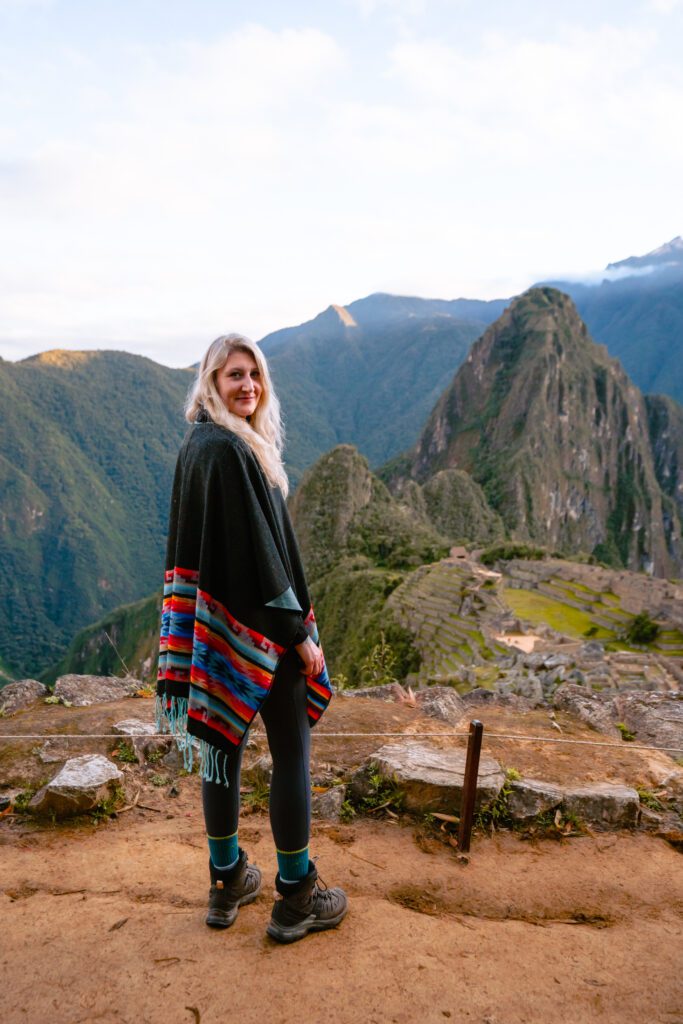
Machu Picchu!
Miles: approx. 1.5
Elevation Gain and Loss: Minimal unless you choose to add on either Huchuy, Huayna, or Machu Picchu Mountain
Highest Altitude: 7,972 feet
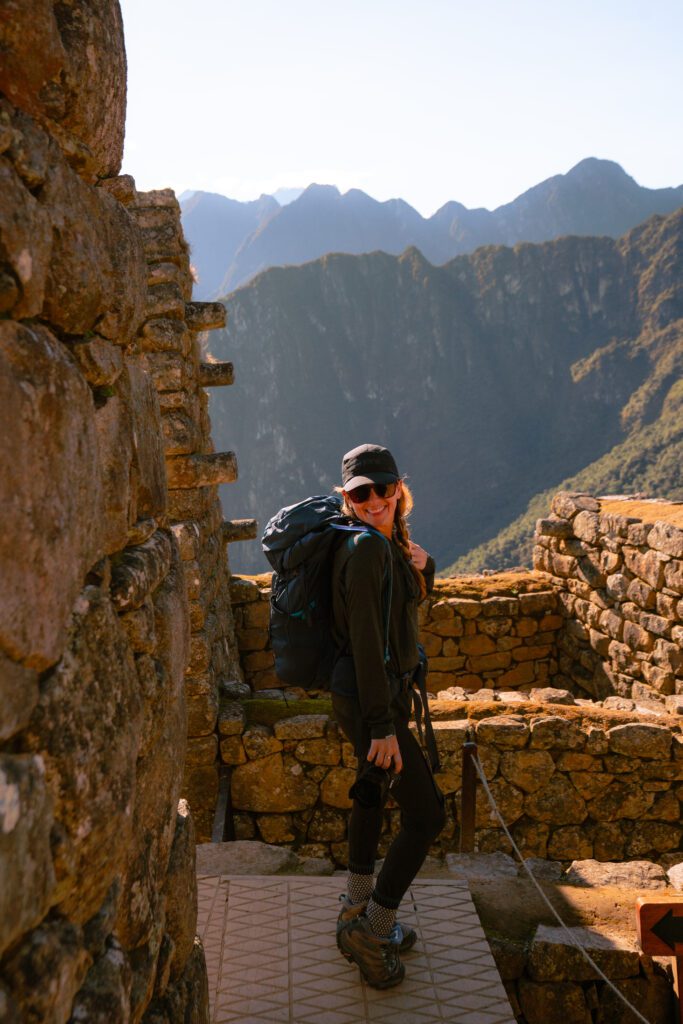
Day 5 of the Salkantay Trek started with a 5am bus departure to the gates of Machu Picchu.
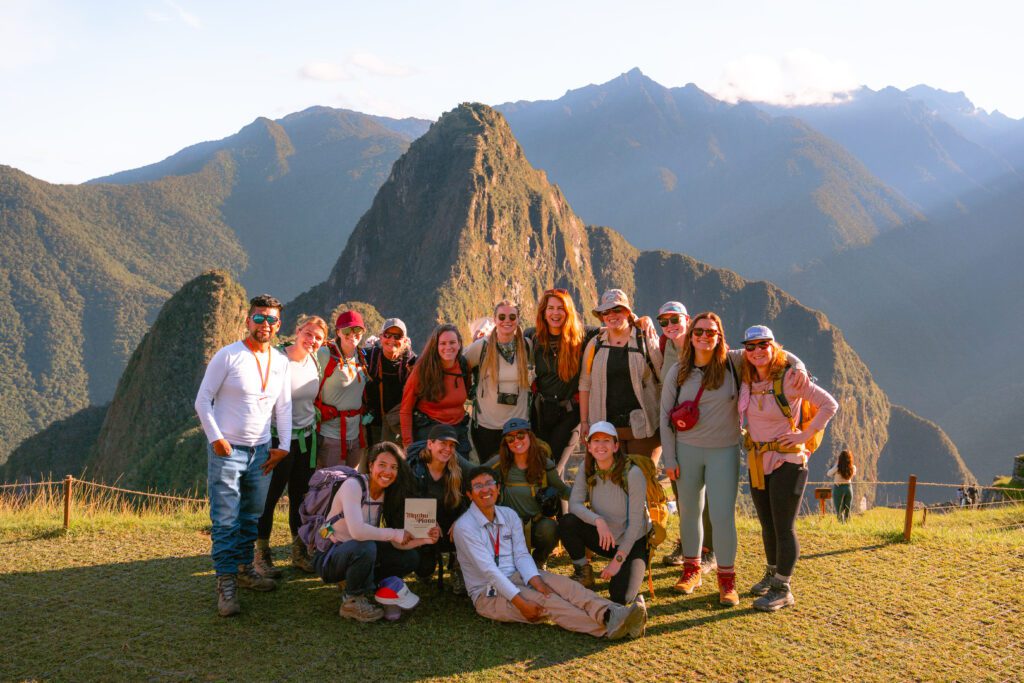
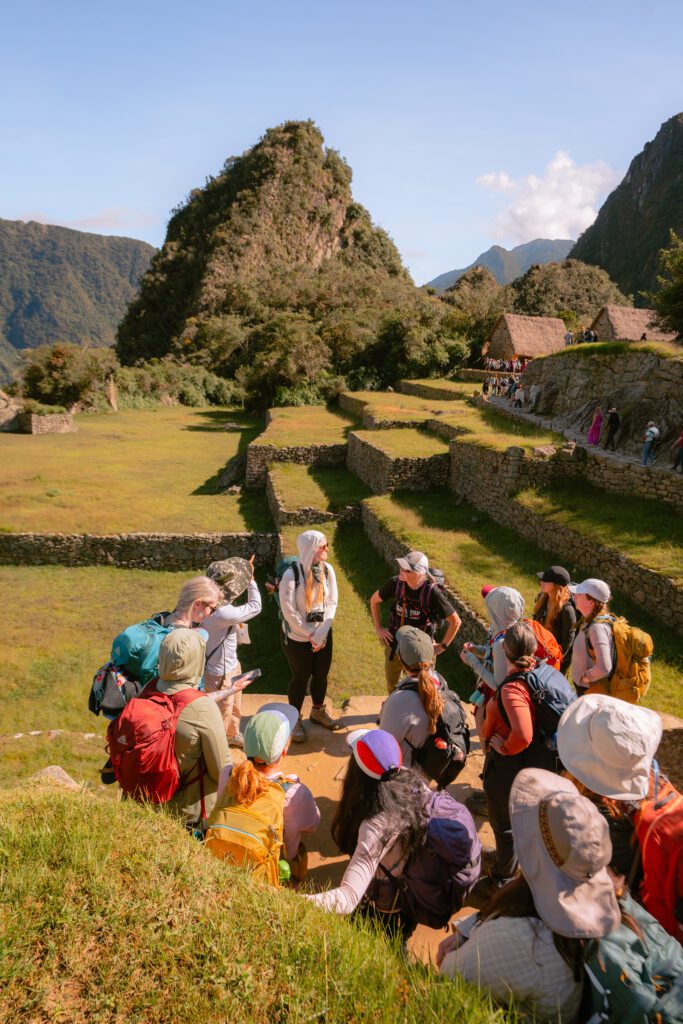
The ride was only about 20 minutes. We were the first permit time slot of the day which I HIGHLY suggest so you get in there during the golden hour light and before people flood the grounds and end up in all your photos.
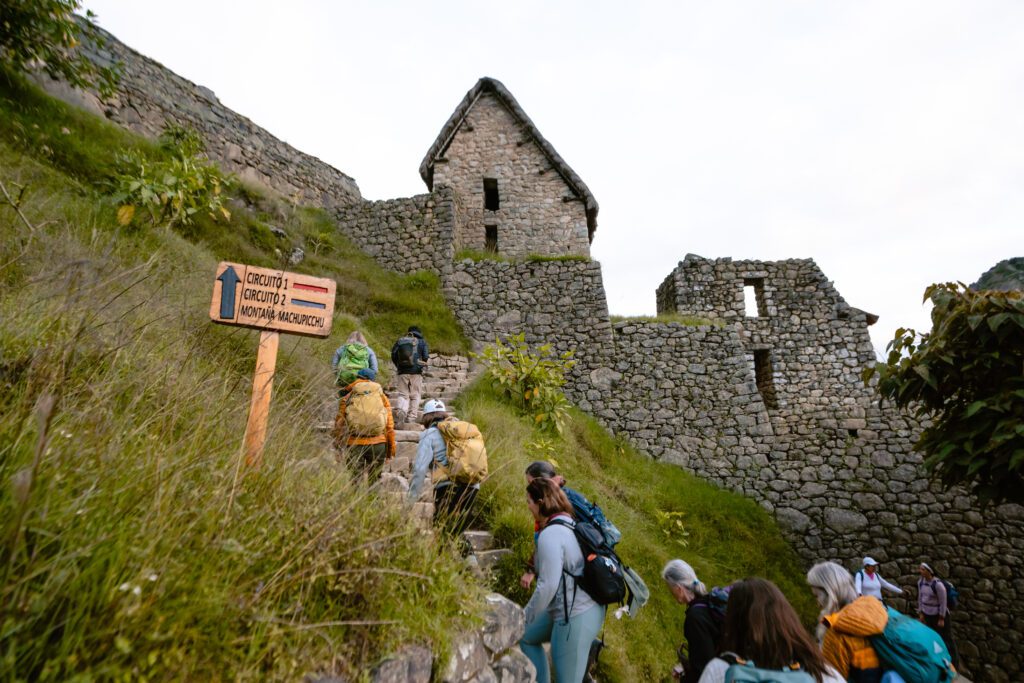
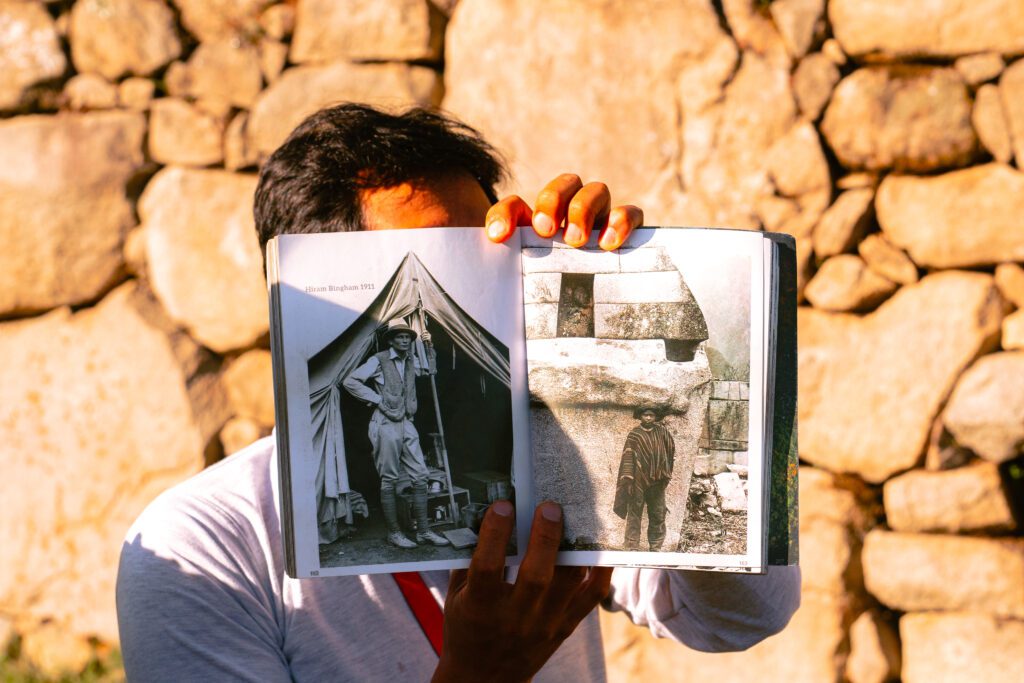
It took a few hours for our guides to take us around our circuit, sharing historical knowledge along the way.
We opted for an additional permit to hike Huchuy Picchu Mountain. This is the easiest of the additional mountains you can hike at Machu Picchu.
It look less than an hour and gave us the opposite vantage point, looking back at Machu Picchu Mountain.
We finished our tour through the grounds, saw a Chinchilla nesting in the Condor Temple area, and got back on the bus to Aguas Calientes.
After lunch in Aguas Calientes, we had quite the trek home: a few hour train ride and then another few hour bus ride (that I think ended up being 6hr due to a festival that stopped traffic for hours) to bring us back to Cusco for the end of our trip!
Are you planning to do the Salkantay Trek in Peru? Read this blog post – Packing List: 5-Day Hut-to-Hut Salkantay Trek in Peru.
This blog post may contain affiliate links which earn me a small commission, but at no cost to you. This is a small way you can support & I appreciate it!
None of this is intended to be professional medical or fitness advice, just my personal experience.
Photo credits: Dasha Afanaseva


+ show Comments
- Hide Comments
add a comment